

After completing all previous exercises and developing an understanding of the physical laws and principles of animation, I had to carry out an exercise on free timing. In this exercise, I had to observe and animate the action of sitting down and standing up with various emotions.
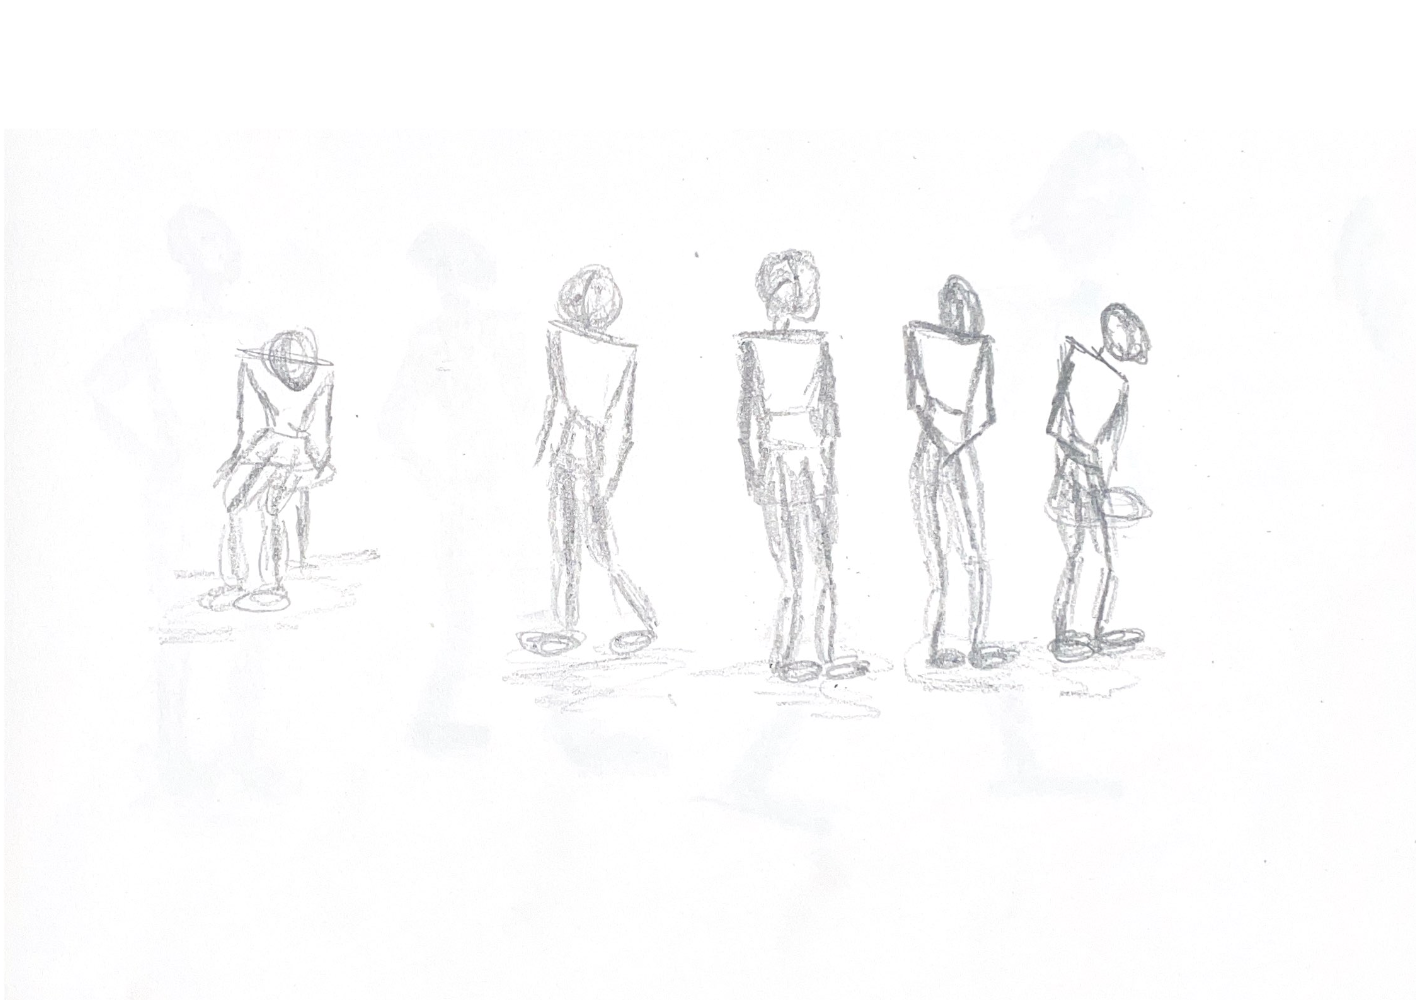
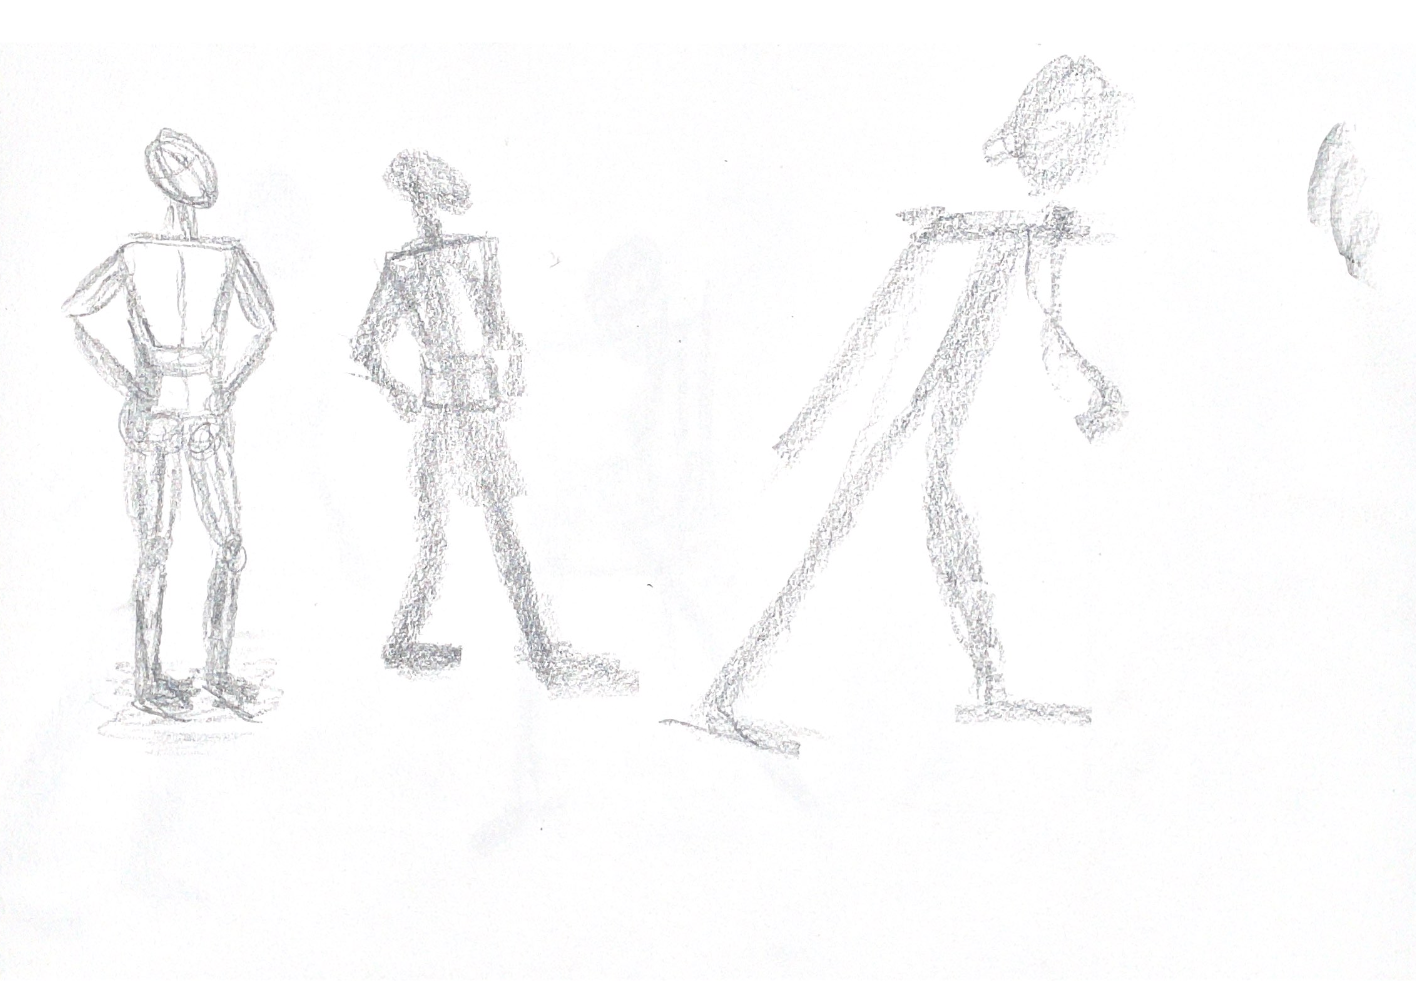
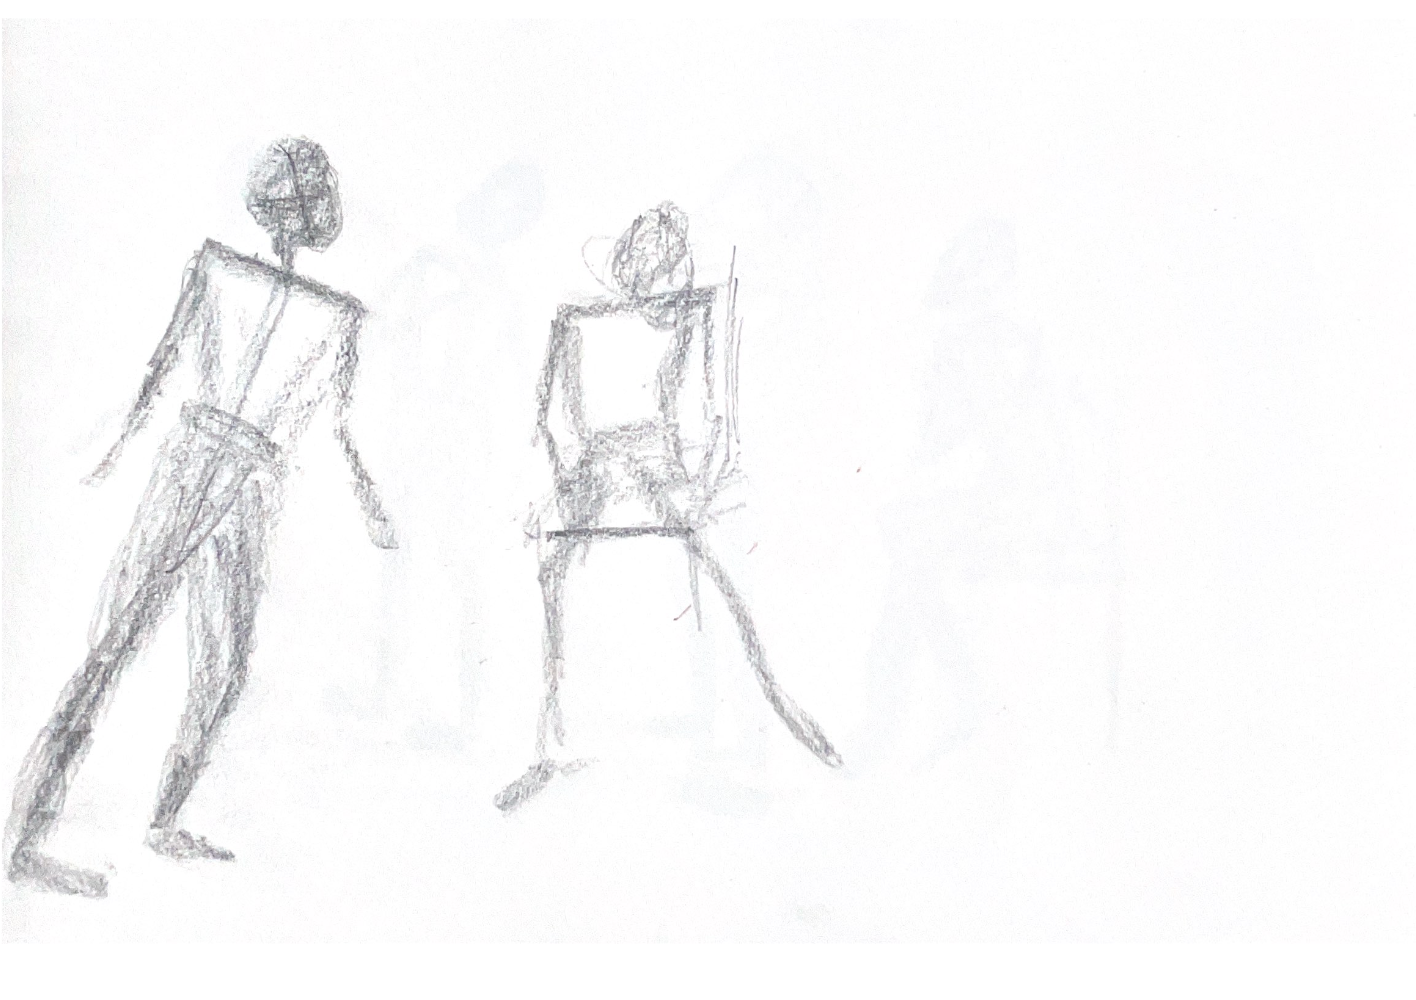
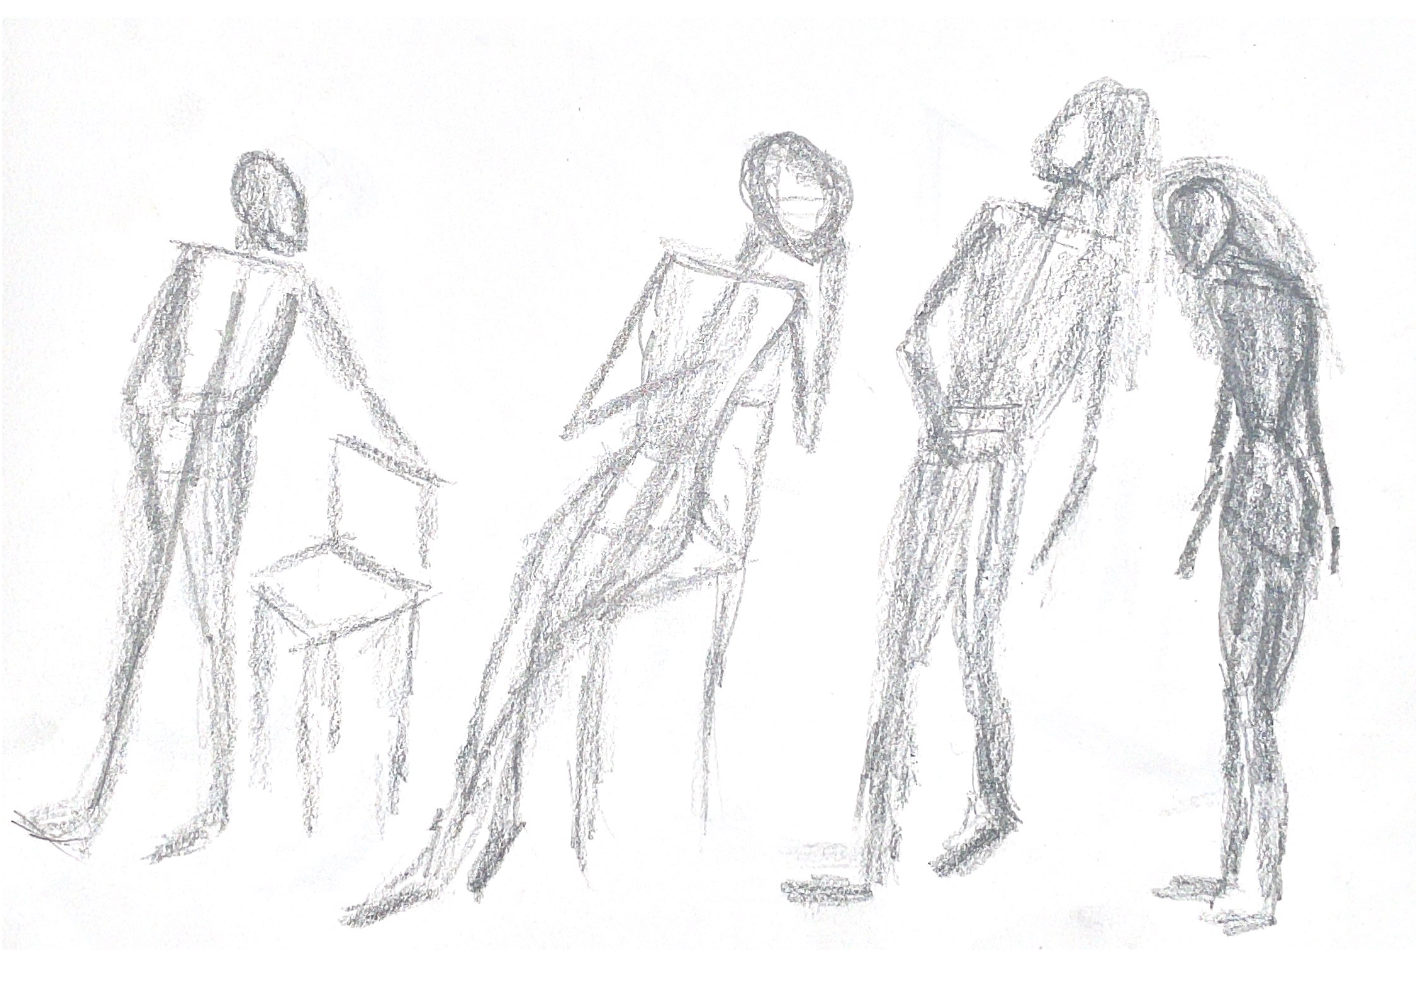
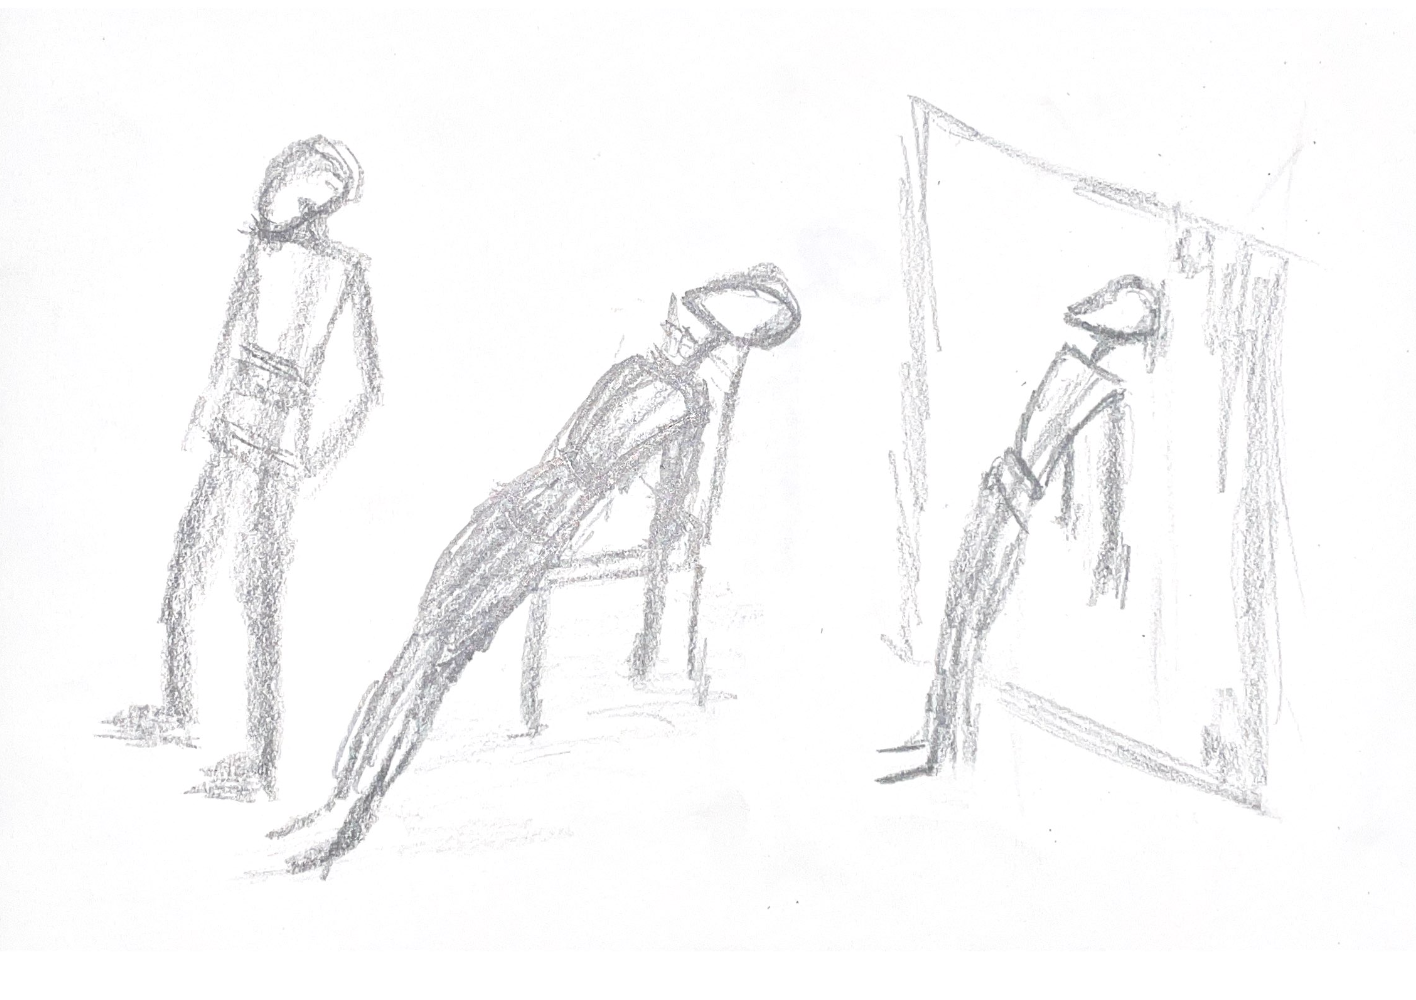
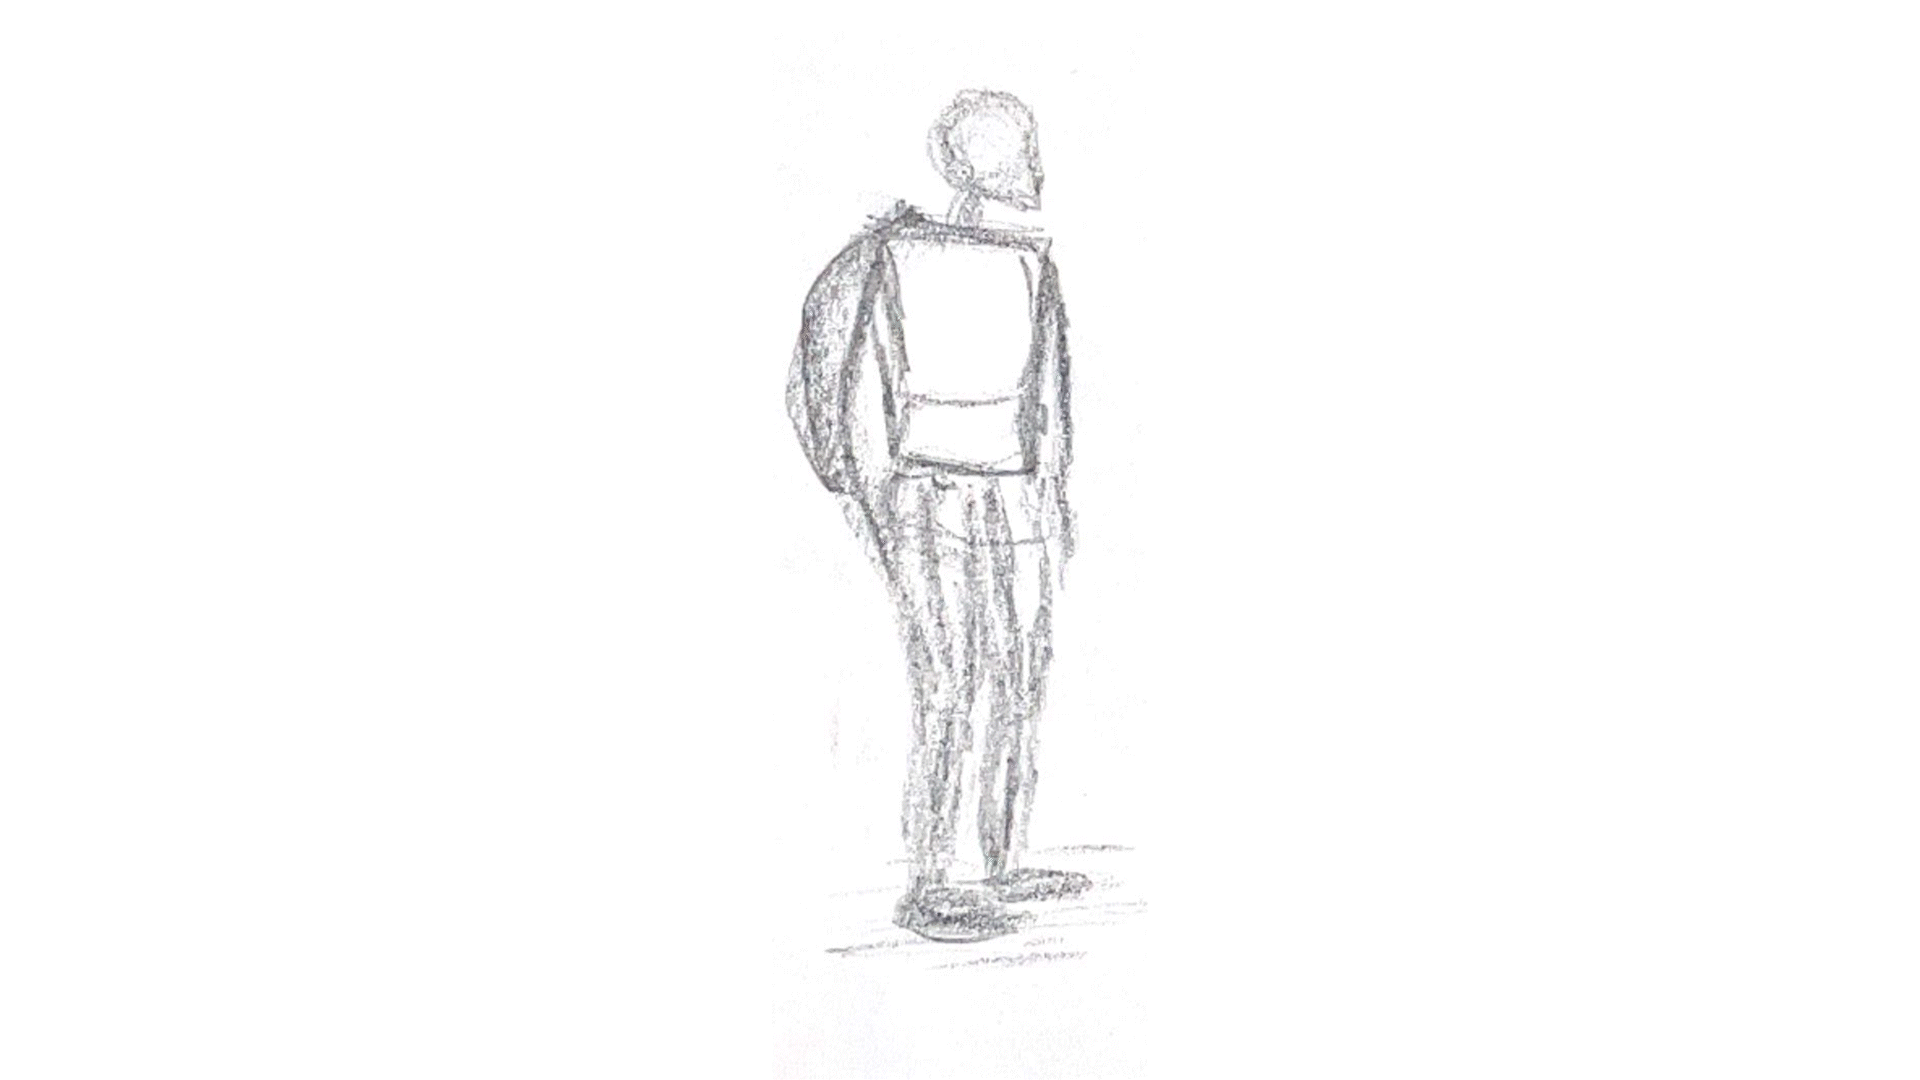
Initially, we had the opportunity to work with live models who posed for us, allowing us to closely observe their actions. I had to take notes on key poses, emphasizing action curves, anchor points, and key frames. The focus was on capturing movement and expression without delving into the details of the drawings. It was crucial to develop a coherent sequence of poses and a sense of motion in the drawings.
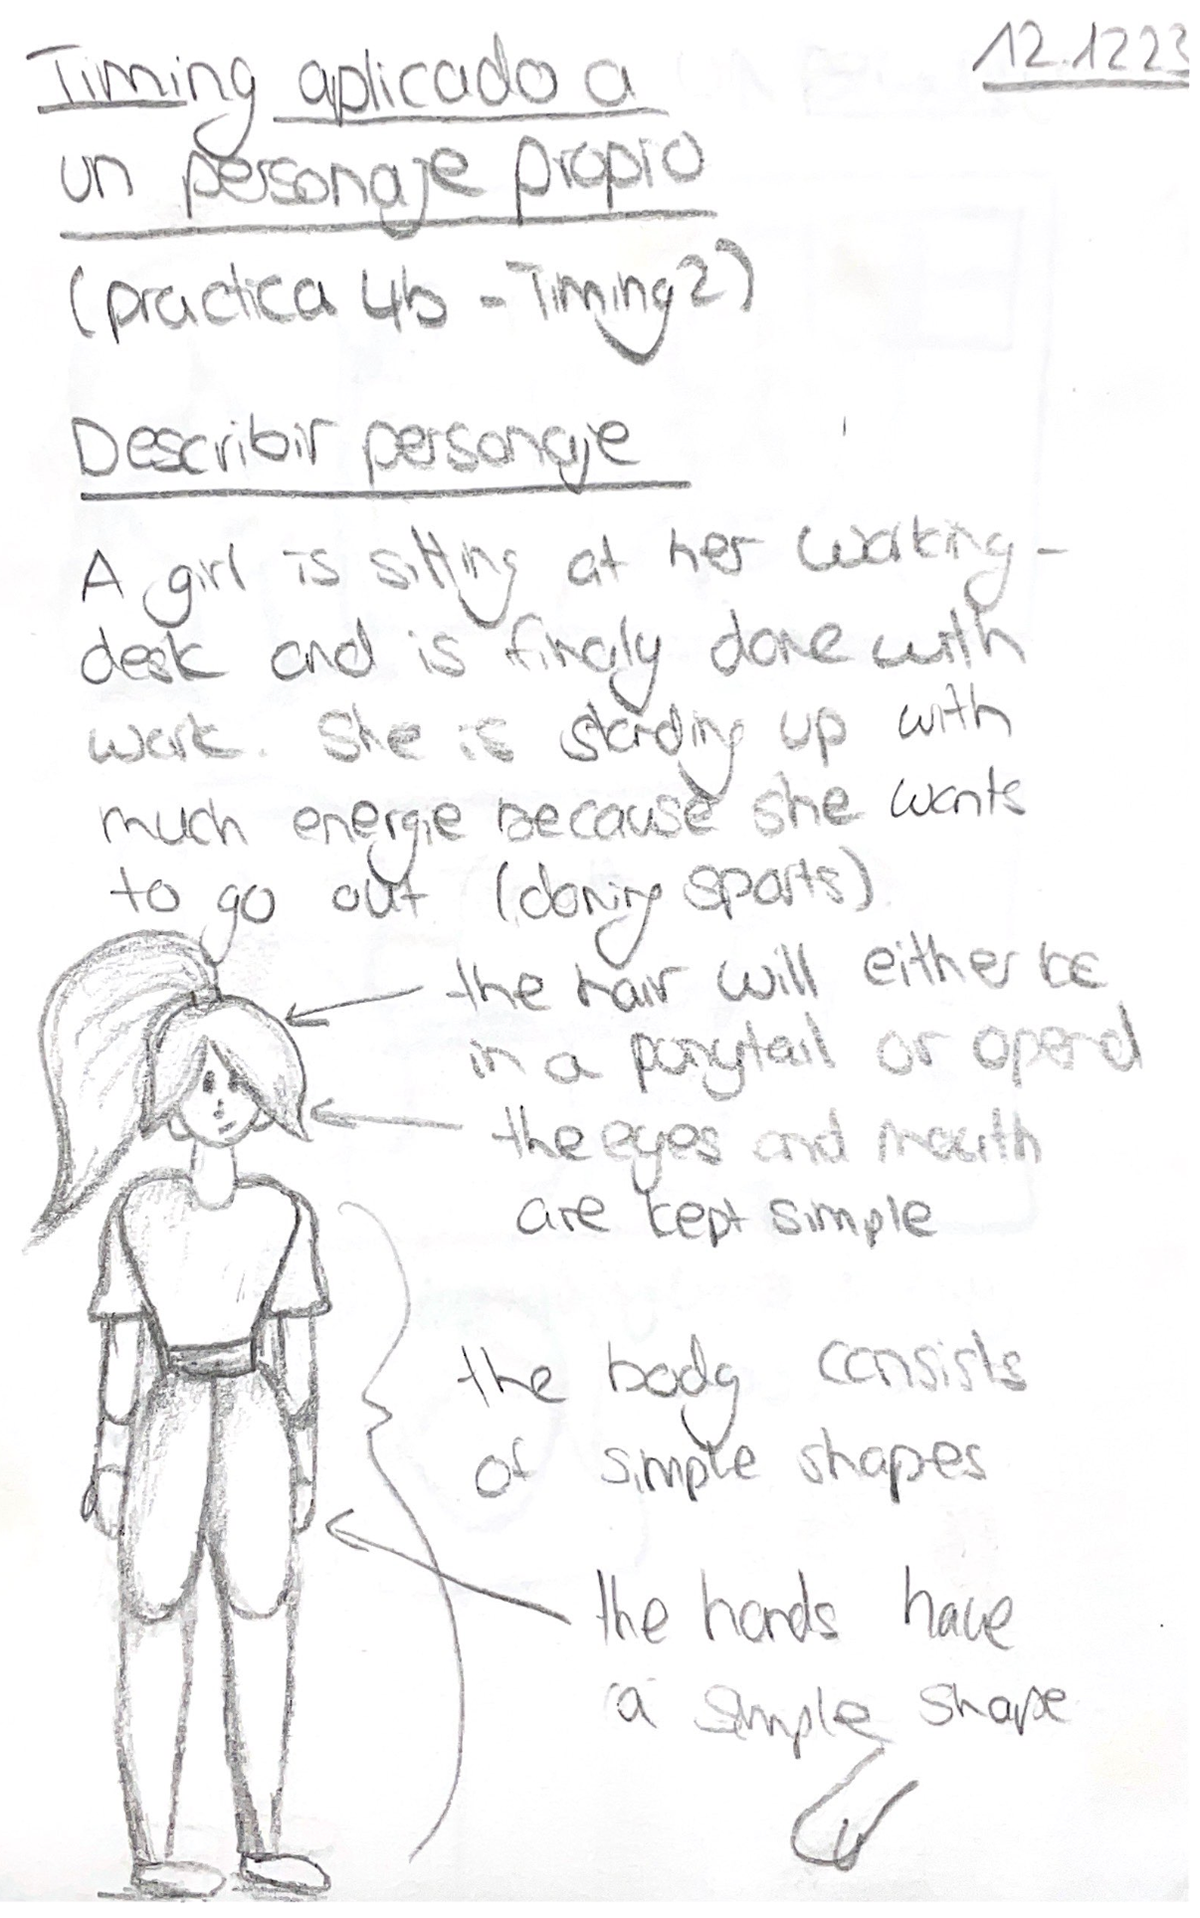
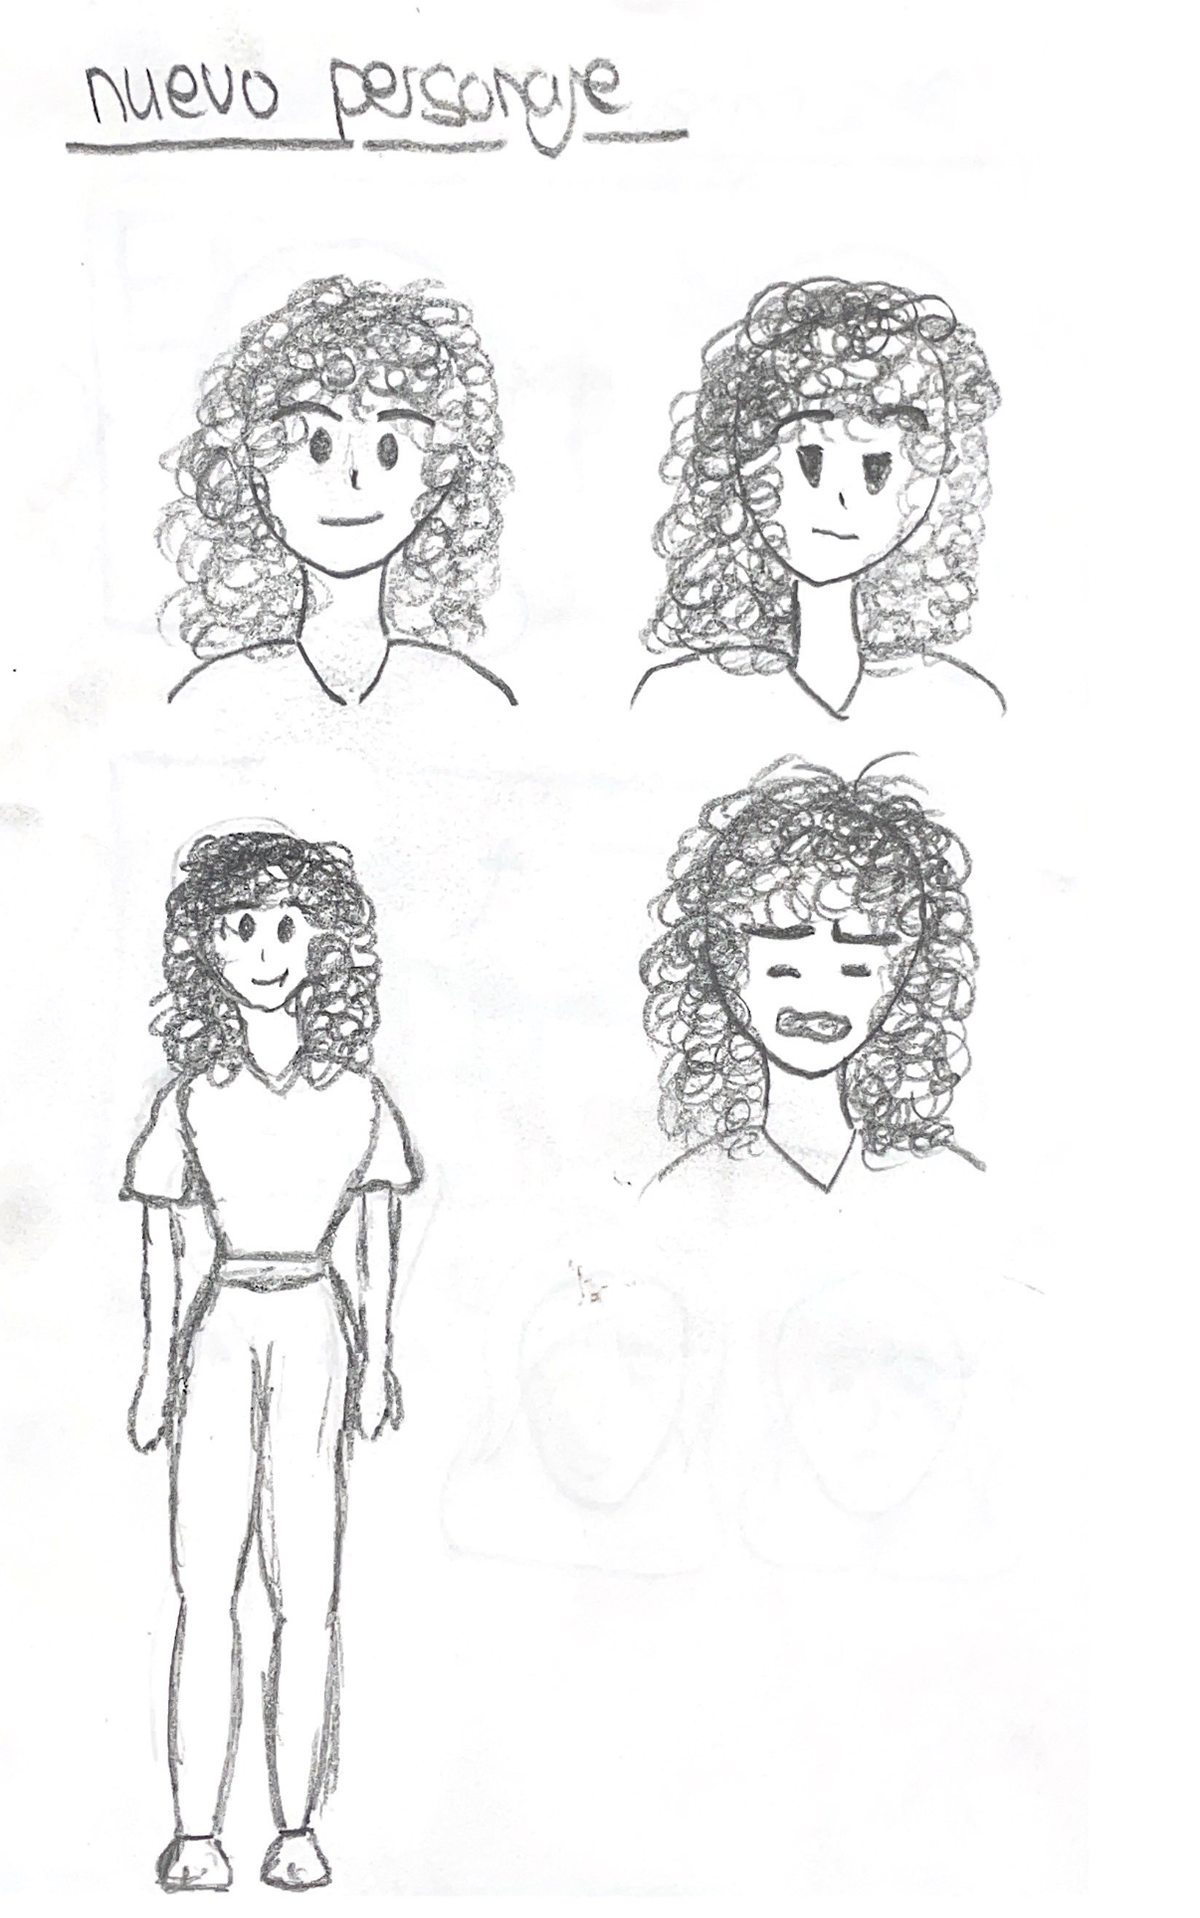
Subsequently, I had to design my own character to animate, applying the knowledge I had acquired. This involved not only shaping the character's external appearance but also describing their personality, emotional state, and the setting in which they were located.
Sketch-Work with live models
Because we are never taught the basics of sketching at my home university, I had a hard time here at first. However, I am proud that I still mastered this task so well and did my best.


First thoughts and sketches
The first thing I thought about was what kind of action my animation should have.
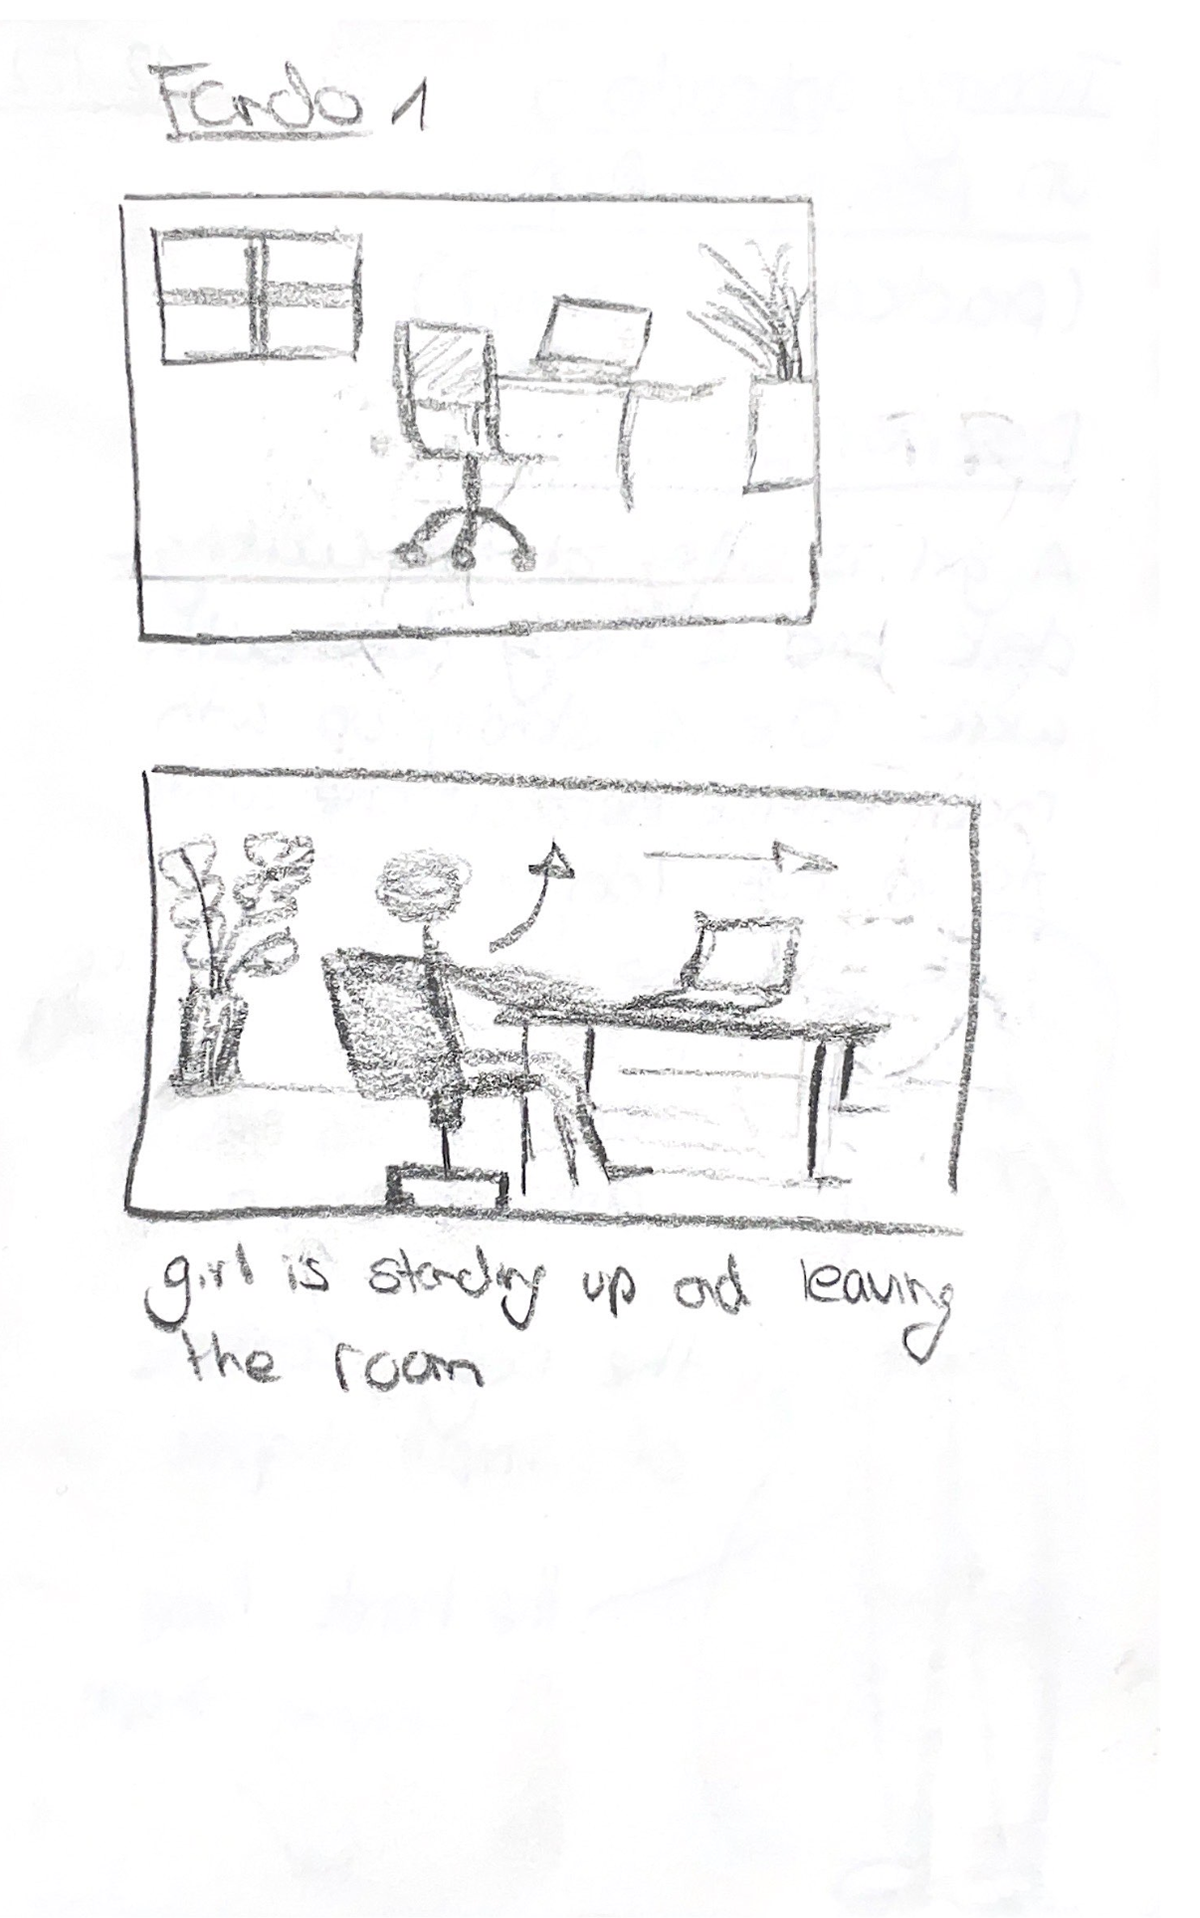
My first idea was to have a girl sitting at her desk and working on her laptop. She then gets up, closes her laptop and leaves the room. However, I wasn't completely satisfied with this action.
My first idea was to have a girl sitting at her desk and working on her laptop. She then gets up, closes her laptop and leaves the room. However, I wasn't completely satisfied with this action.
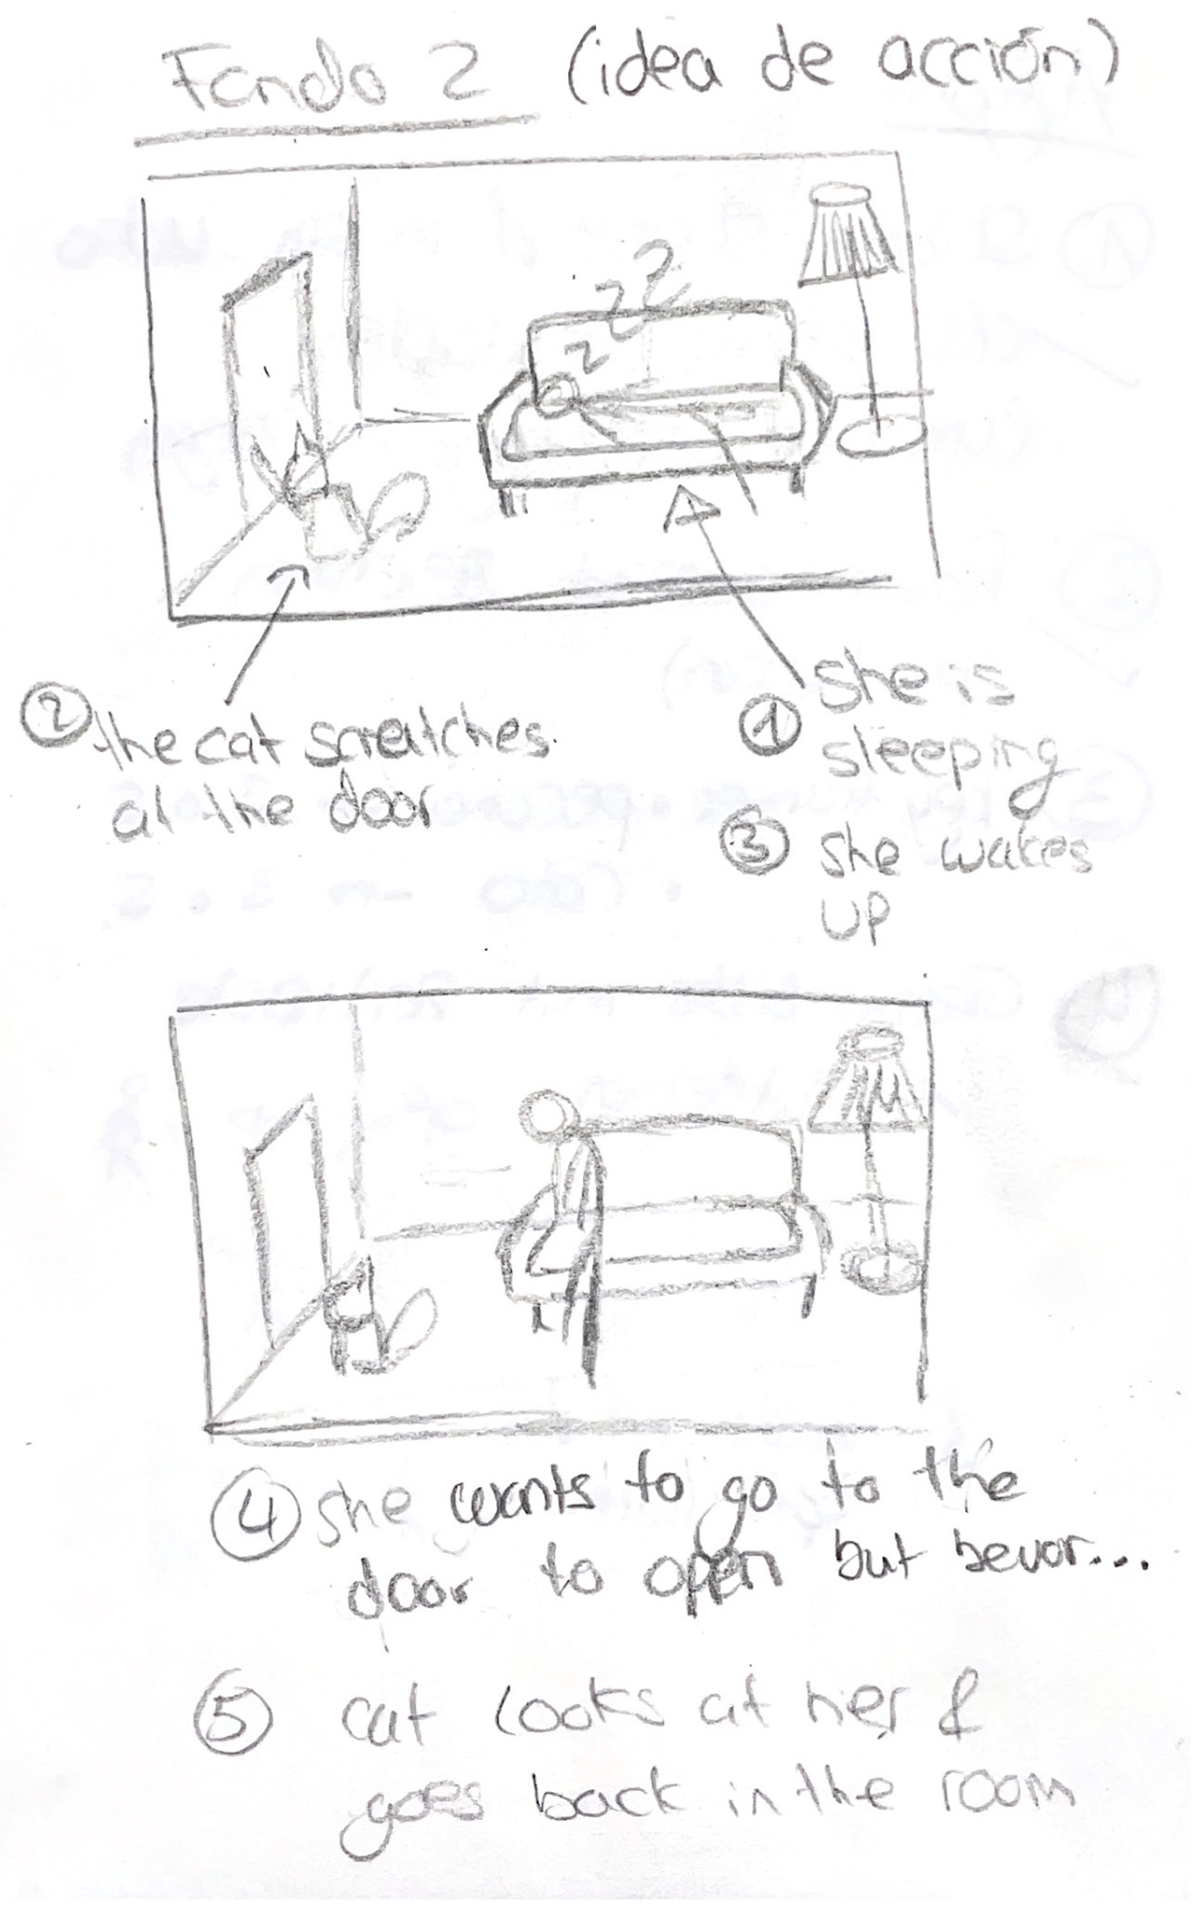
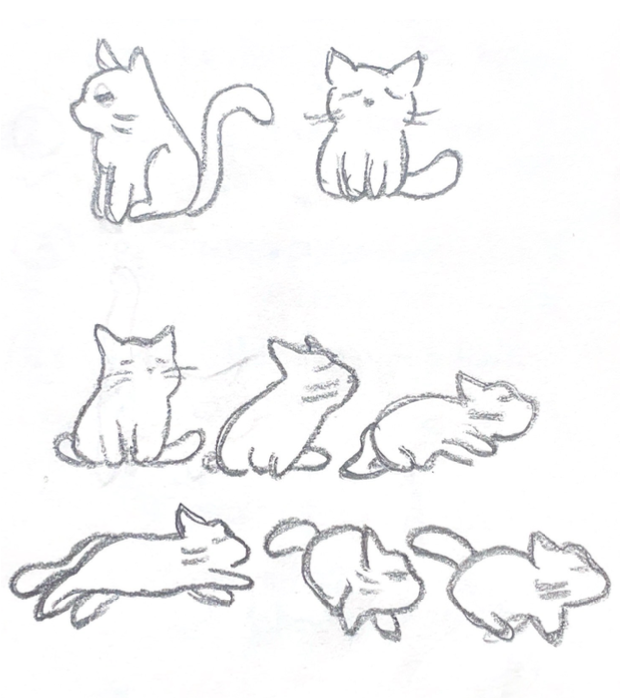
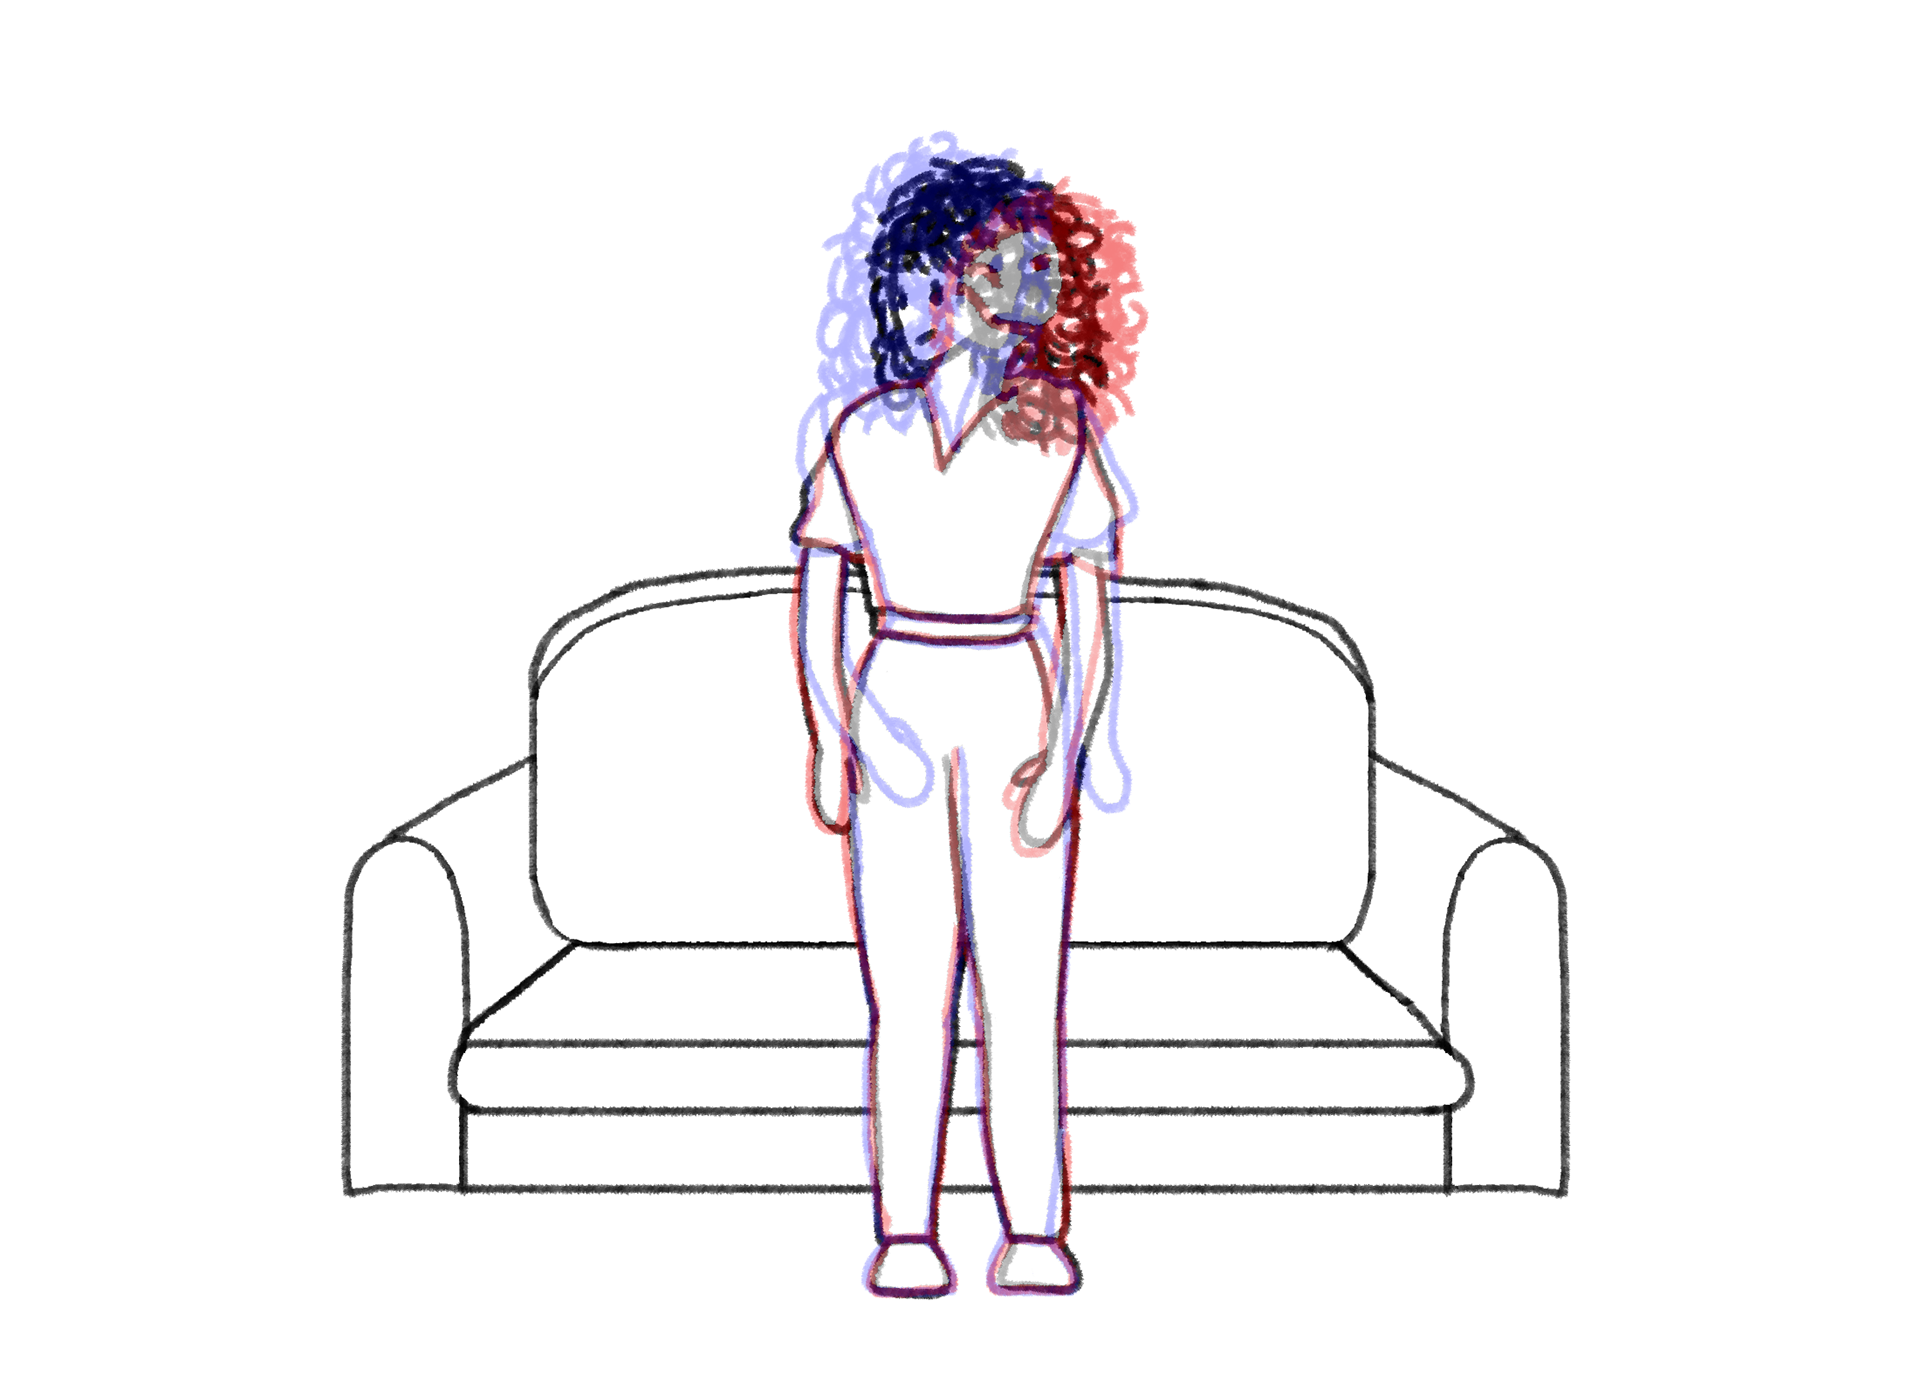
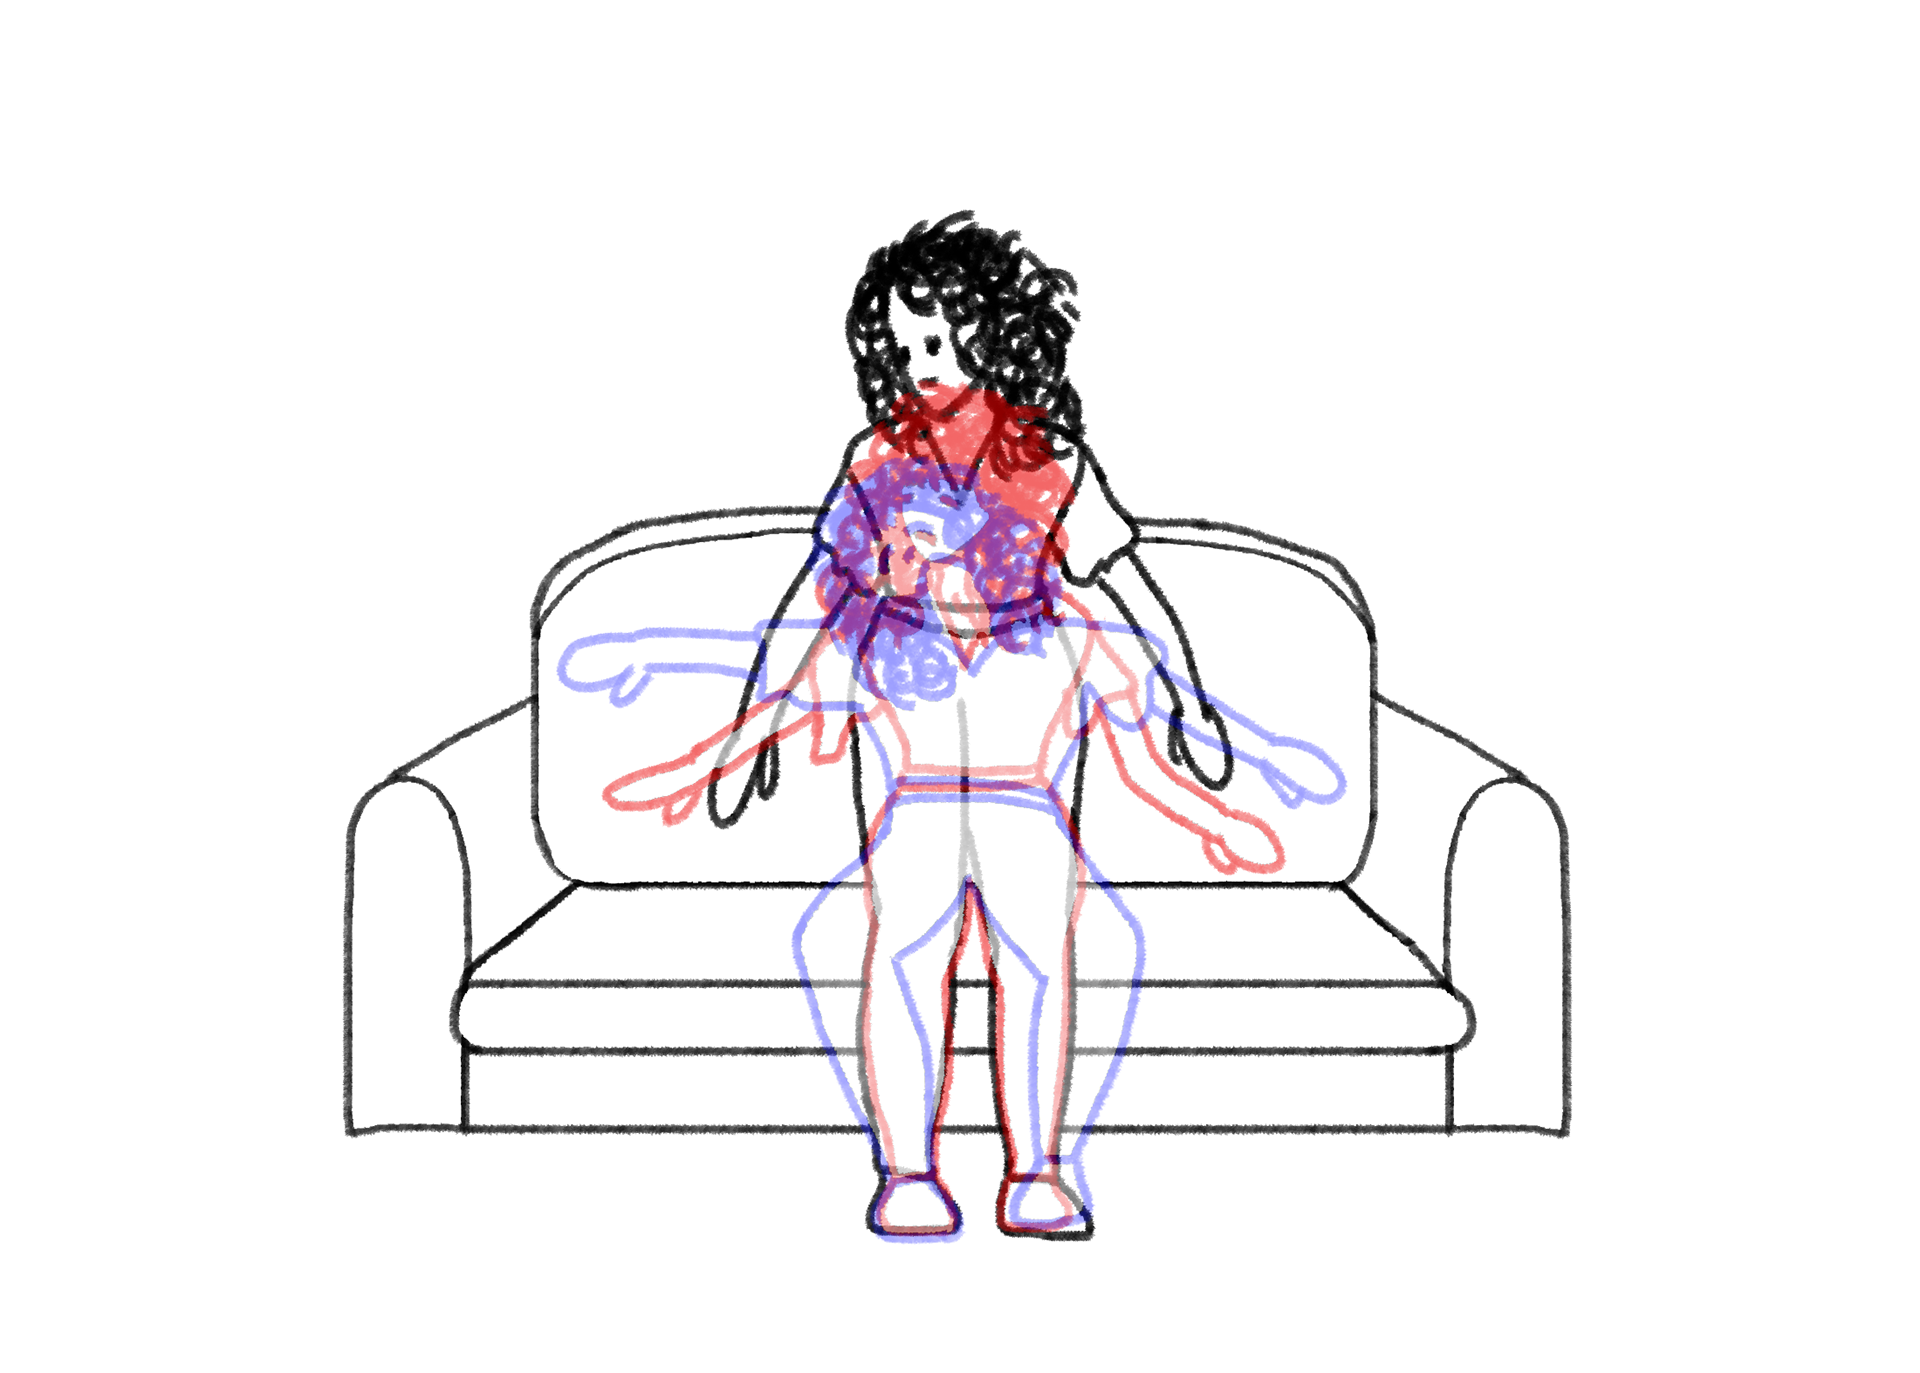
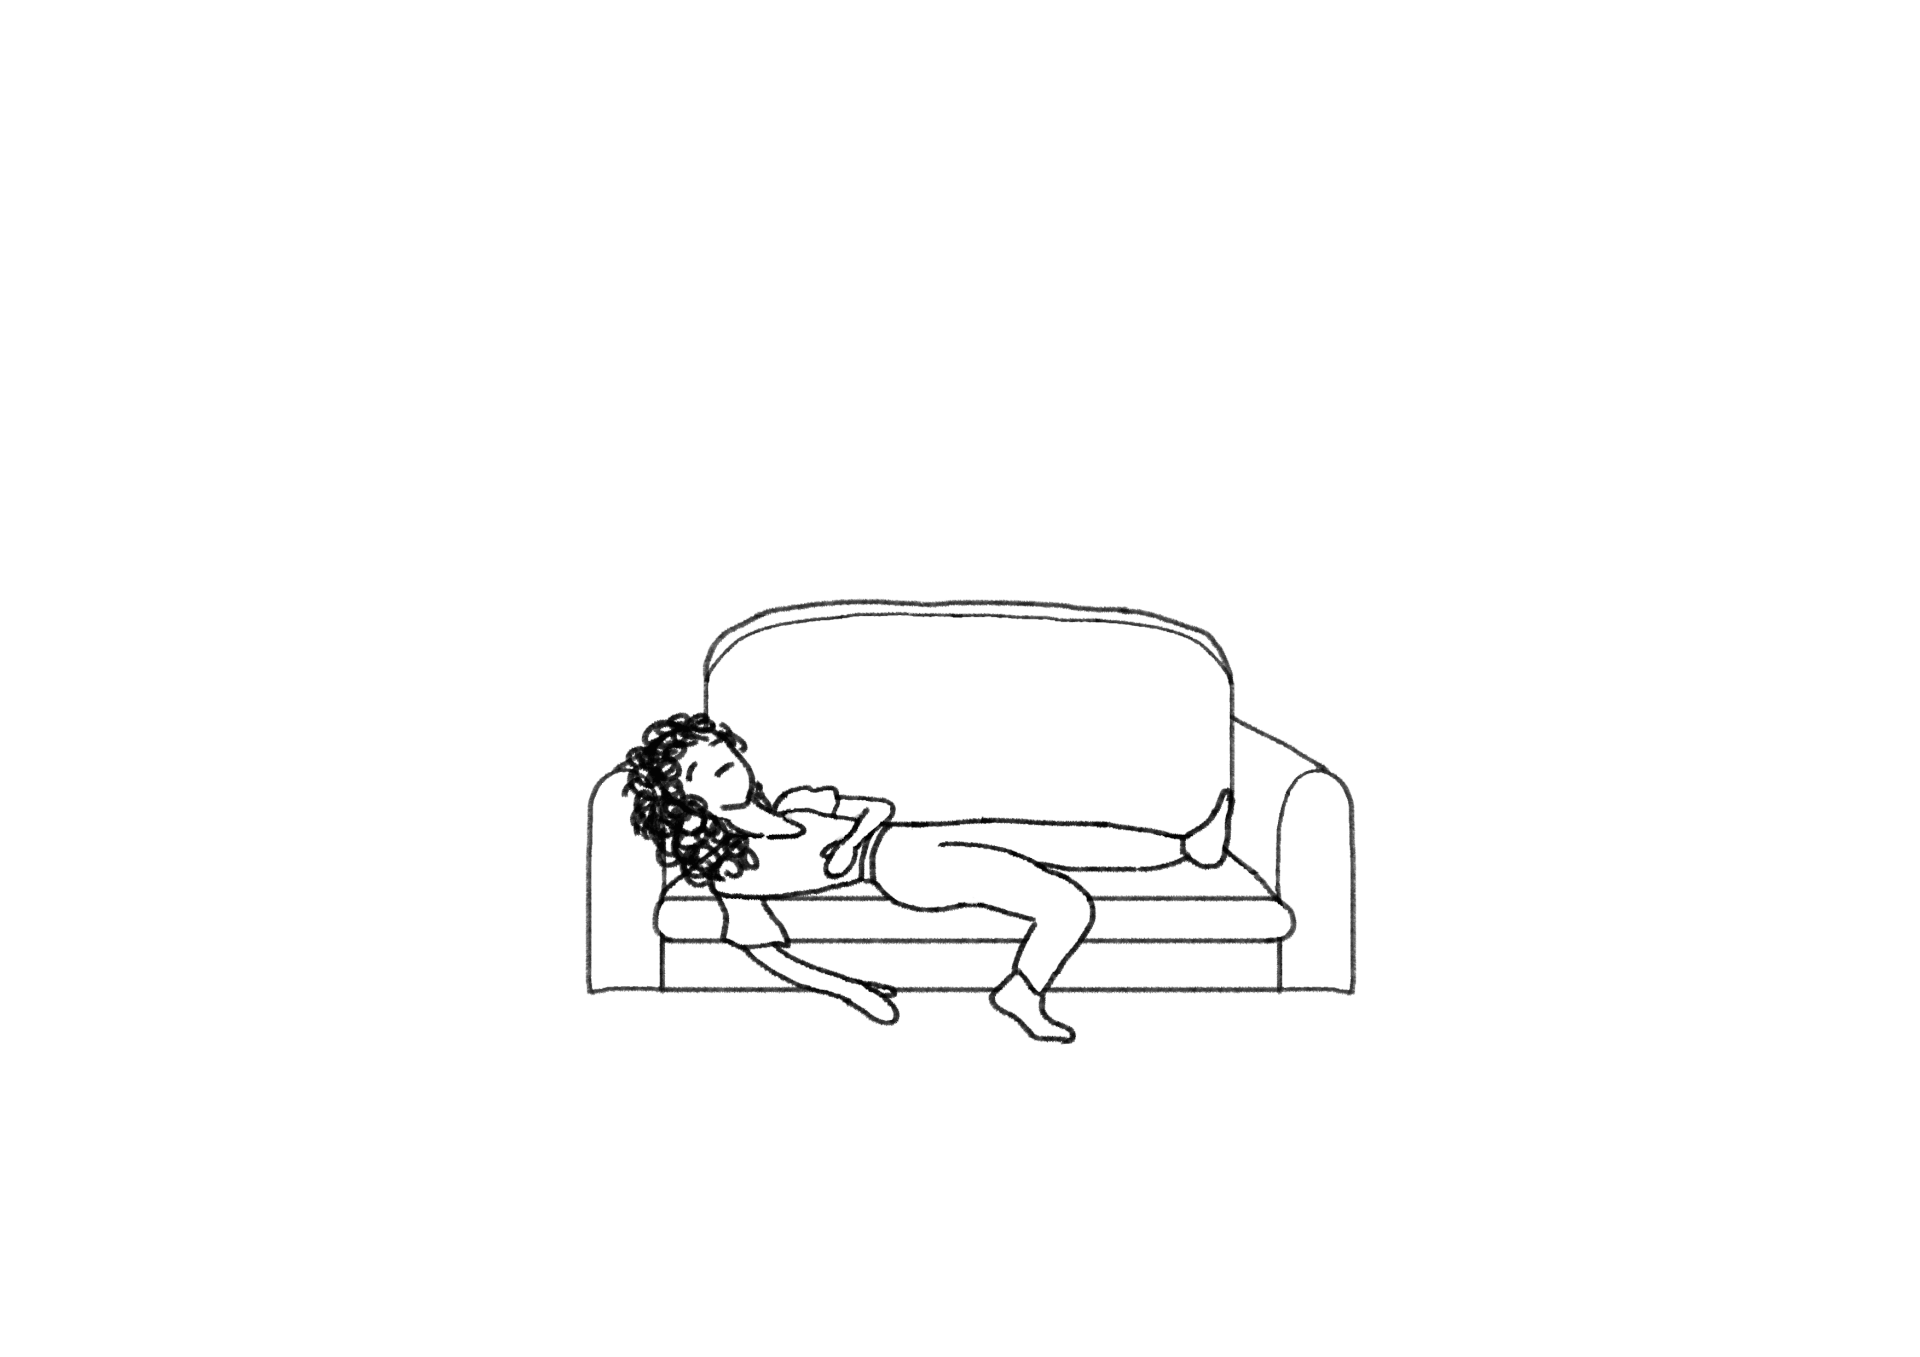
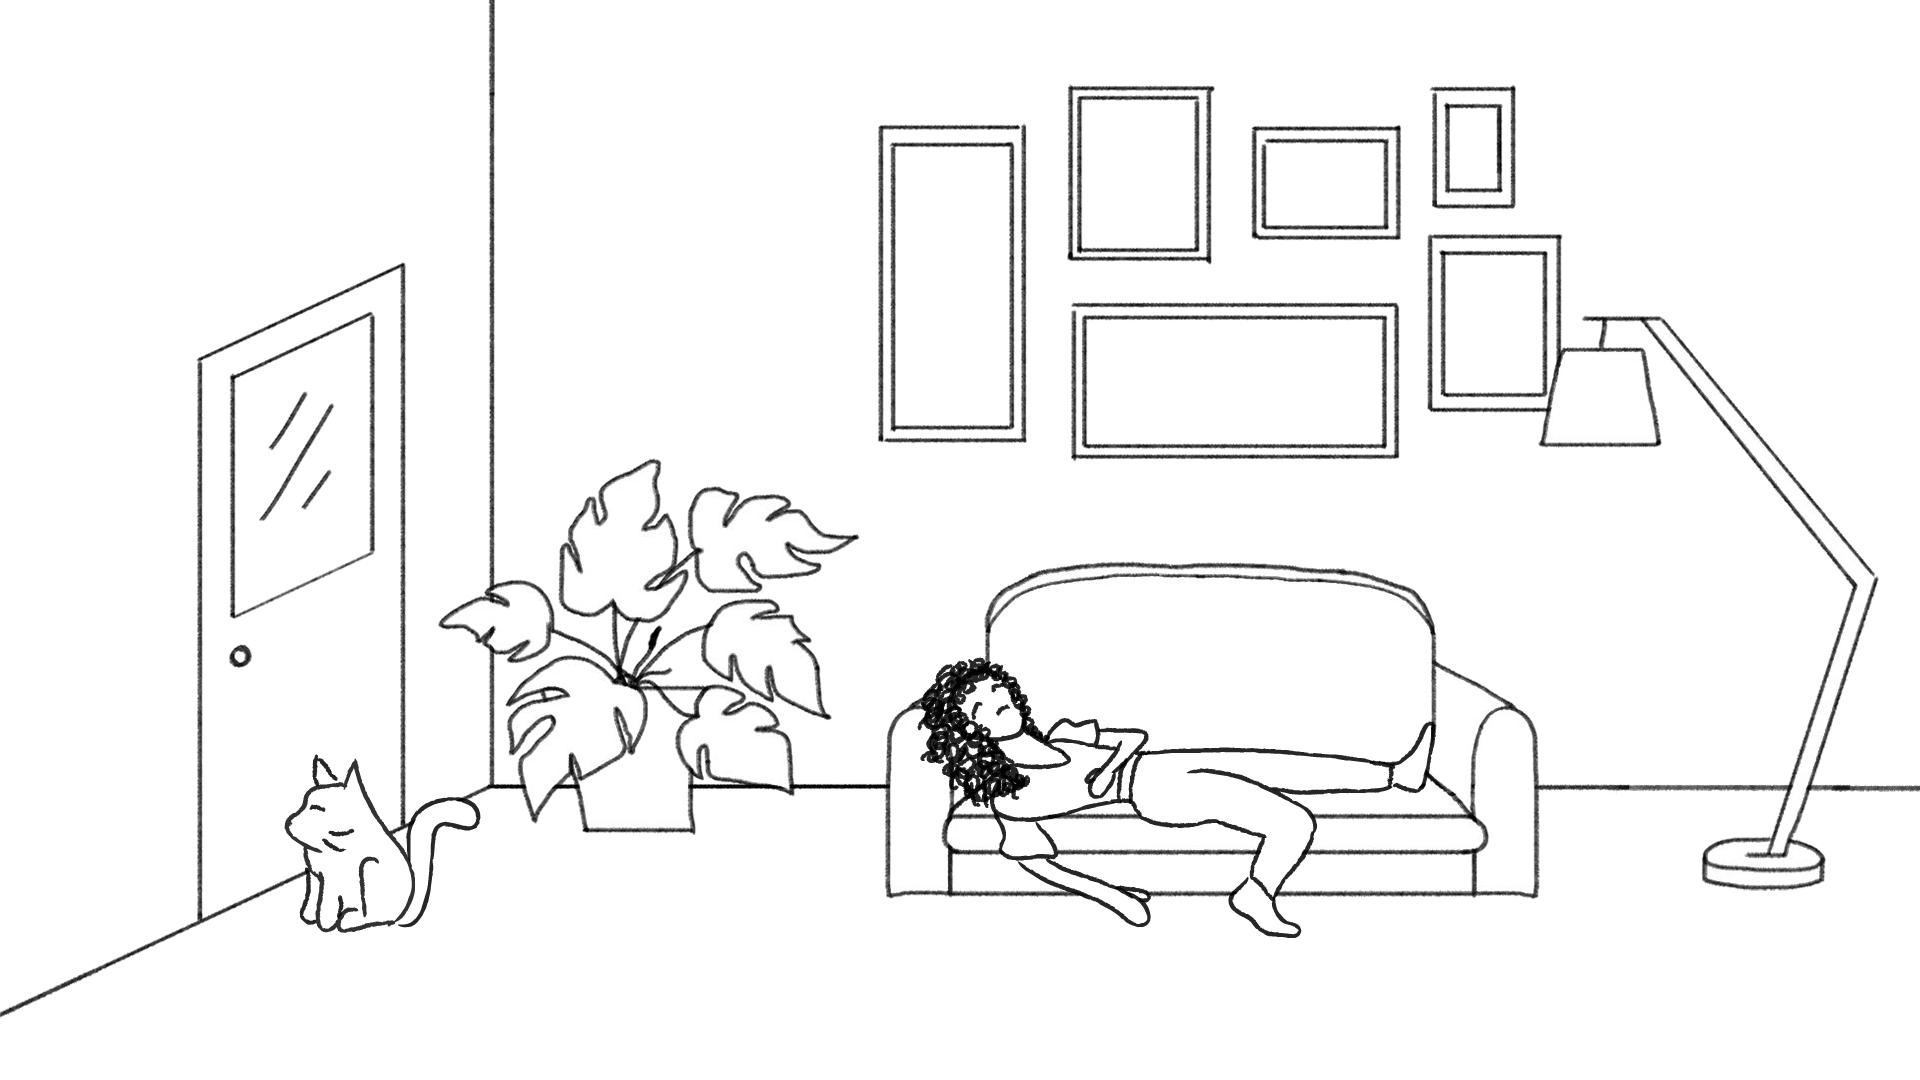
After discussing this project with my partner, I came up with the idea of drawing a girl sleeping on a sofa in the living room. Her cat is sitting by the door.
The action is that the cat scratches at the door and wants to get out, which wakes the girl up and she gets up annoyed and tired. However, when she stands up, the cat simply walks away from the door. The girl has woken up unnecessarily and got up, and falls tiredly back into the sofa.
Material and sketches

Supporting video
To better understand and comprehend the movement of the action. The partner should present the action in a video. Below you can find the video of my fellow student Paula, who was my partner for this task.
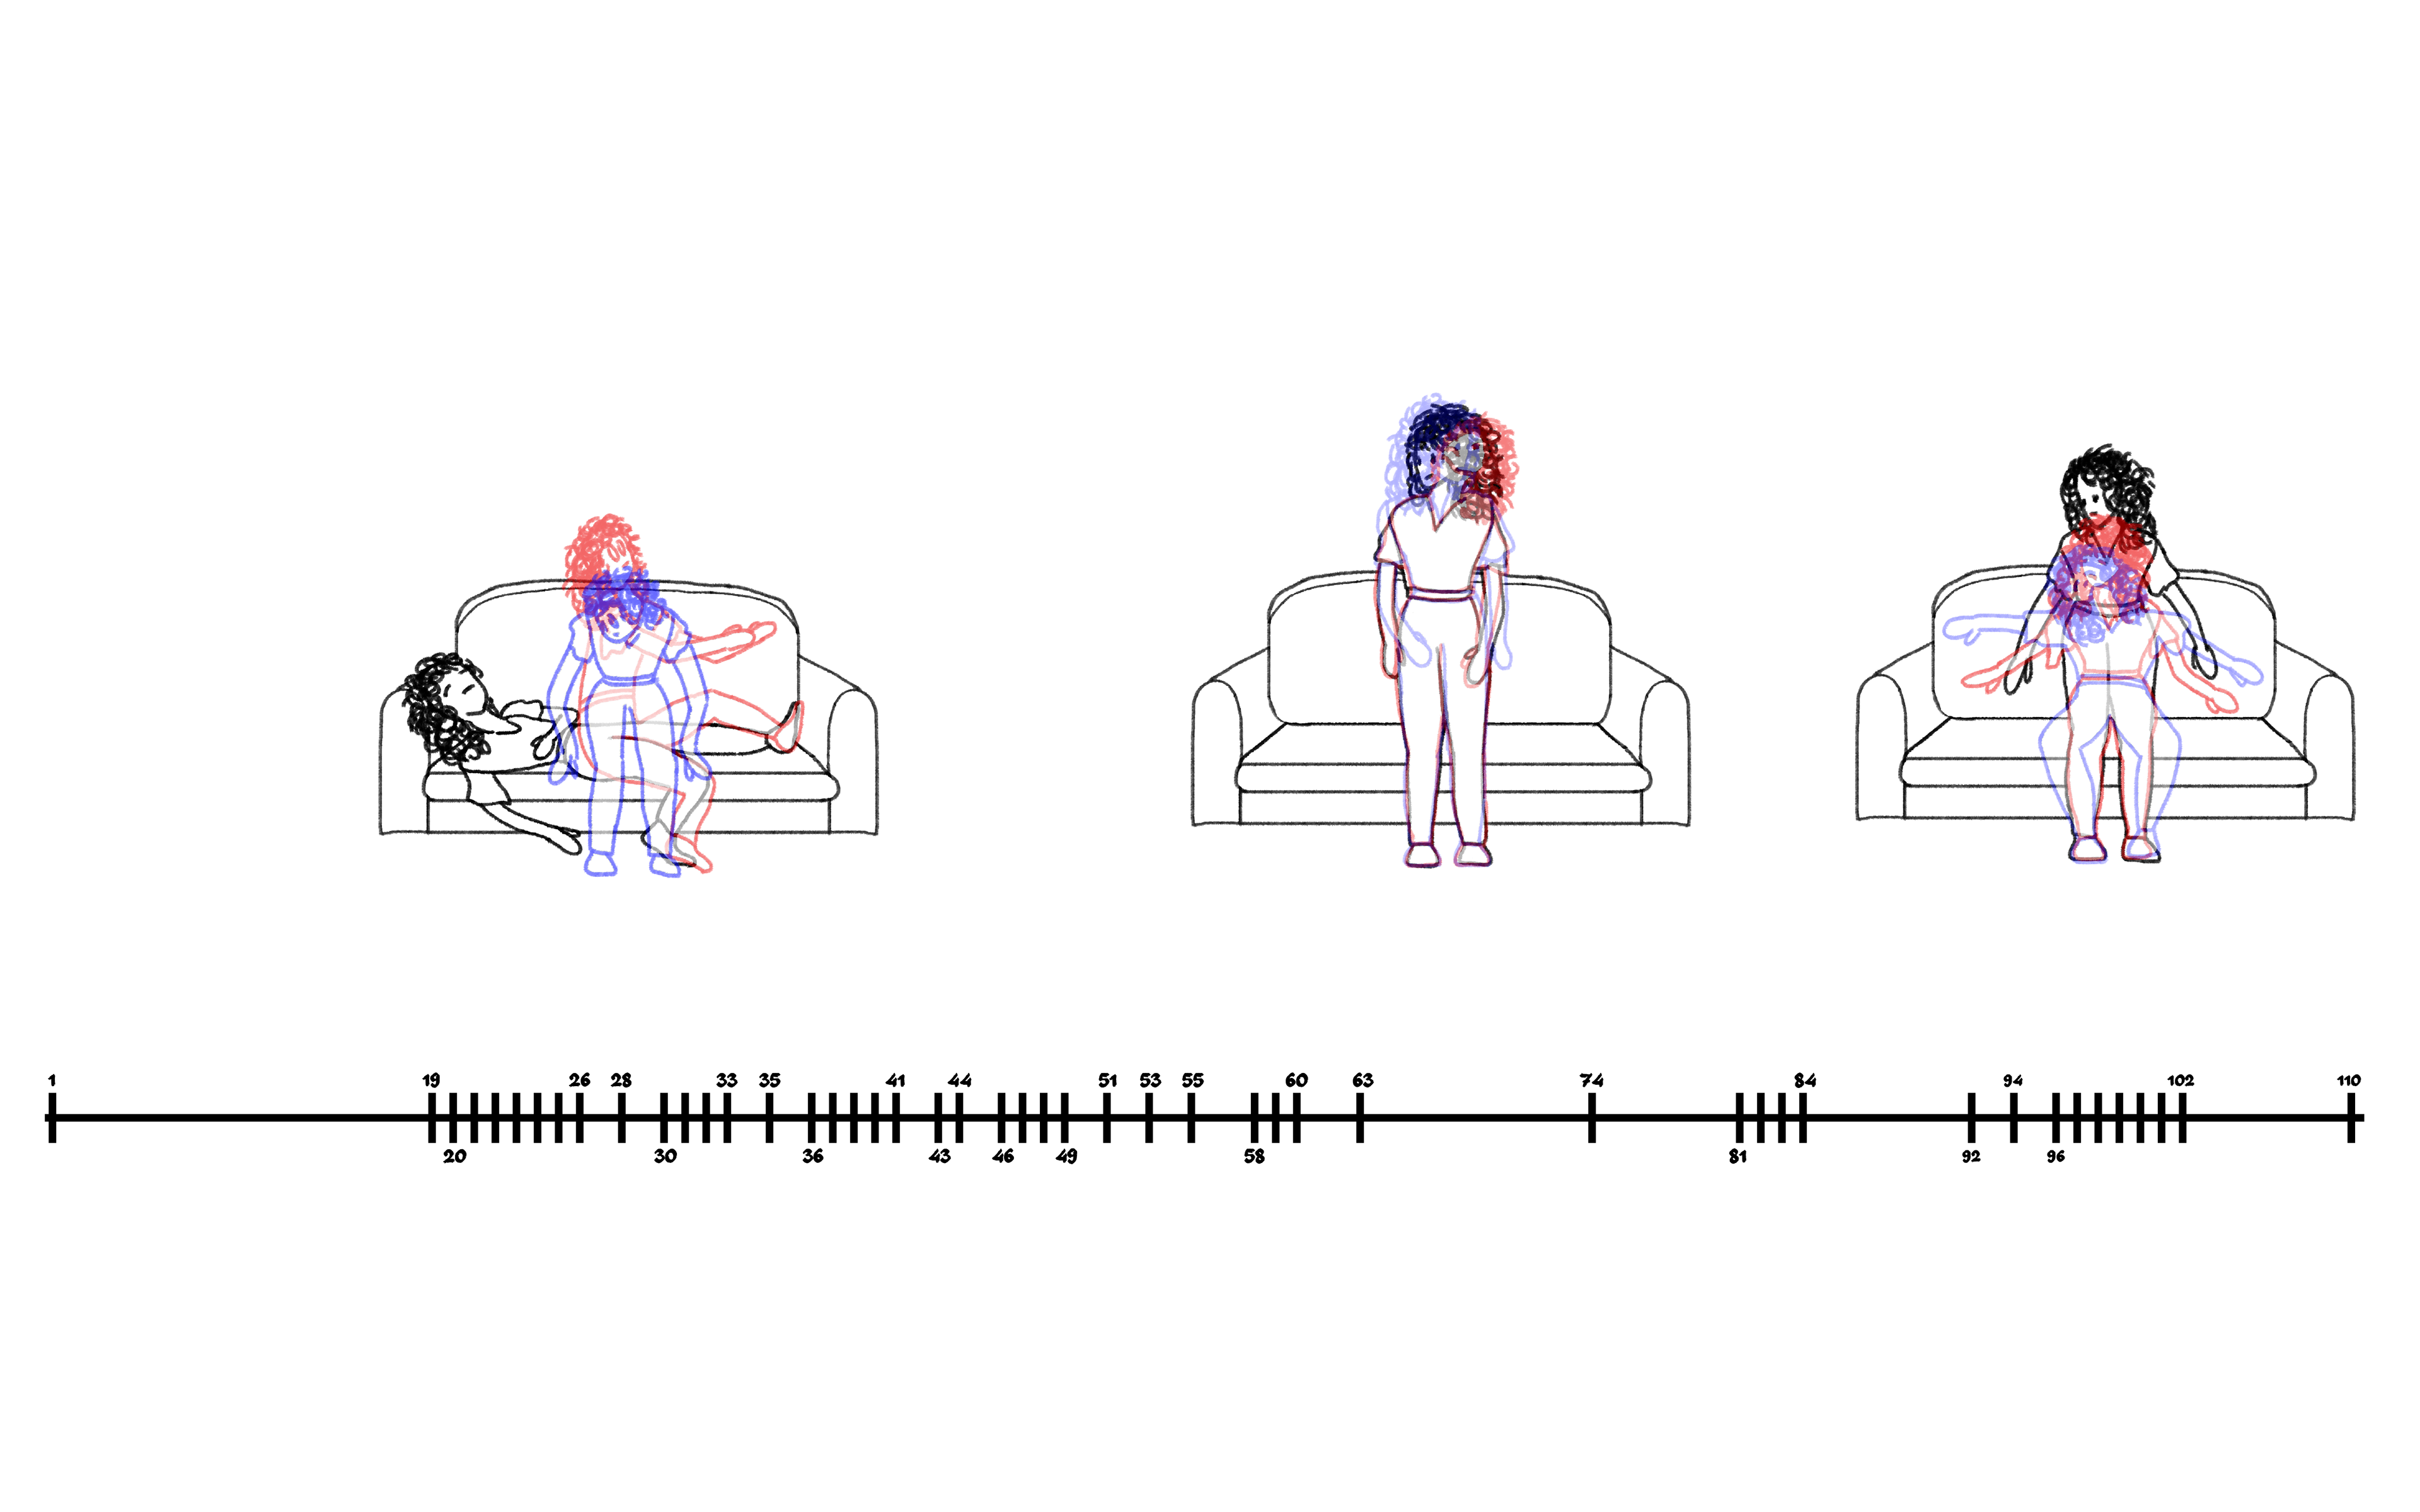
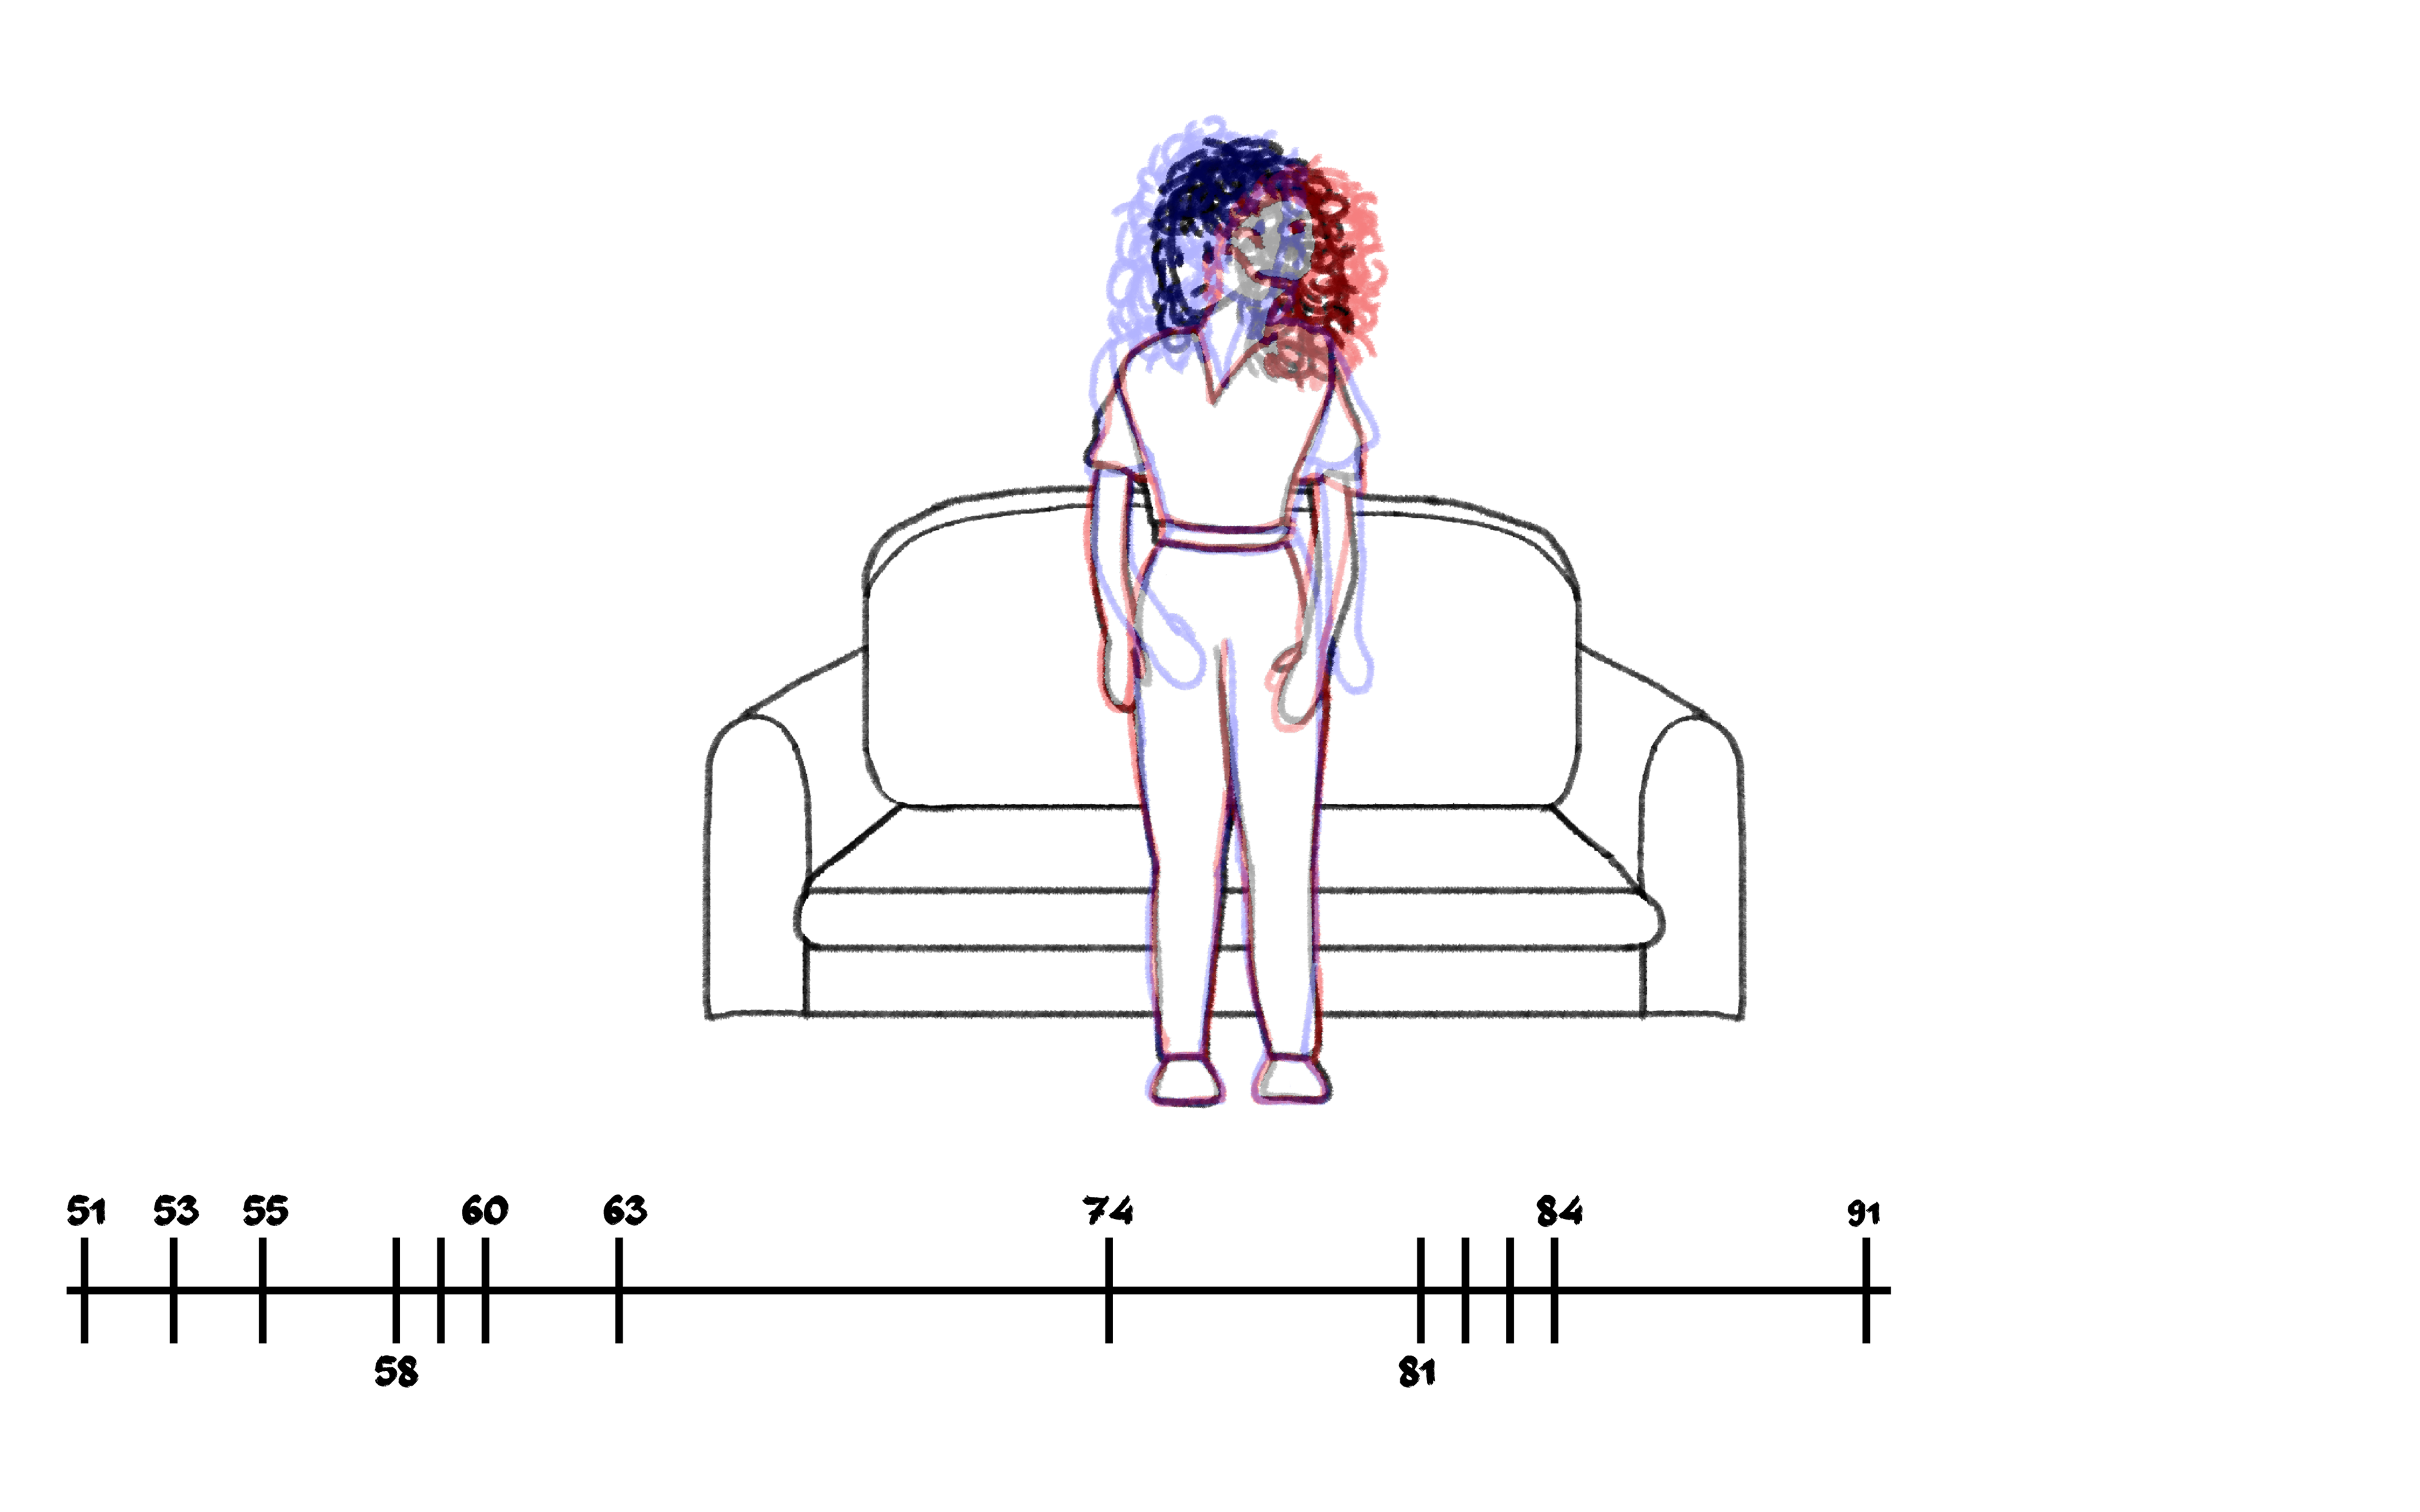
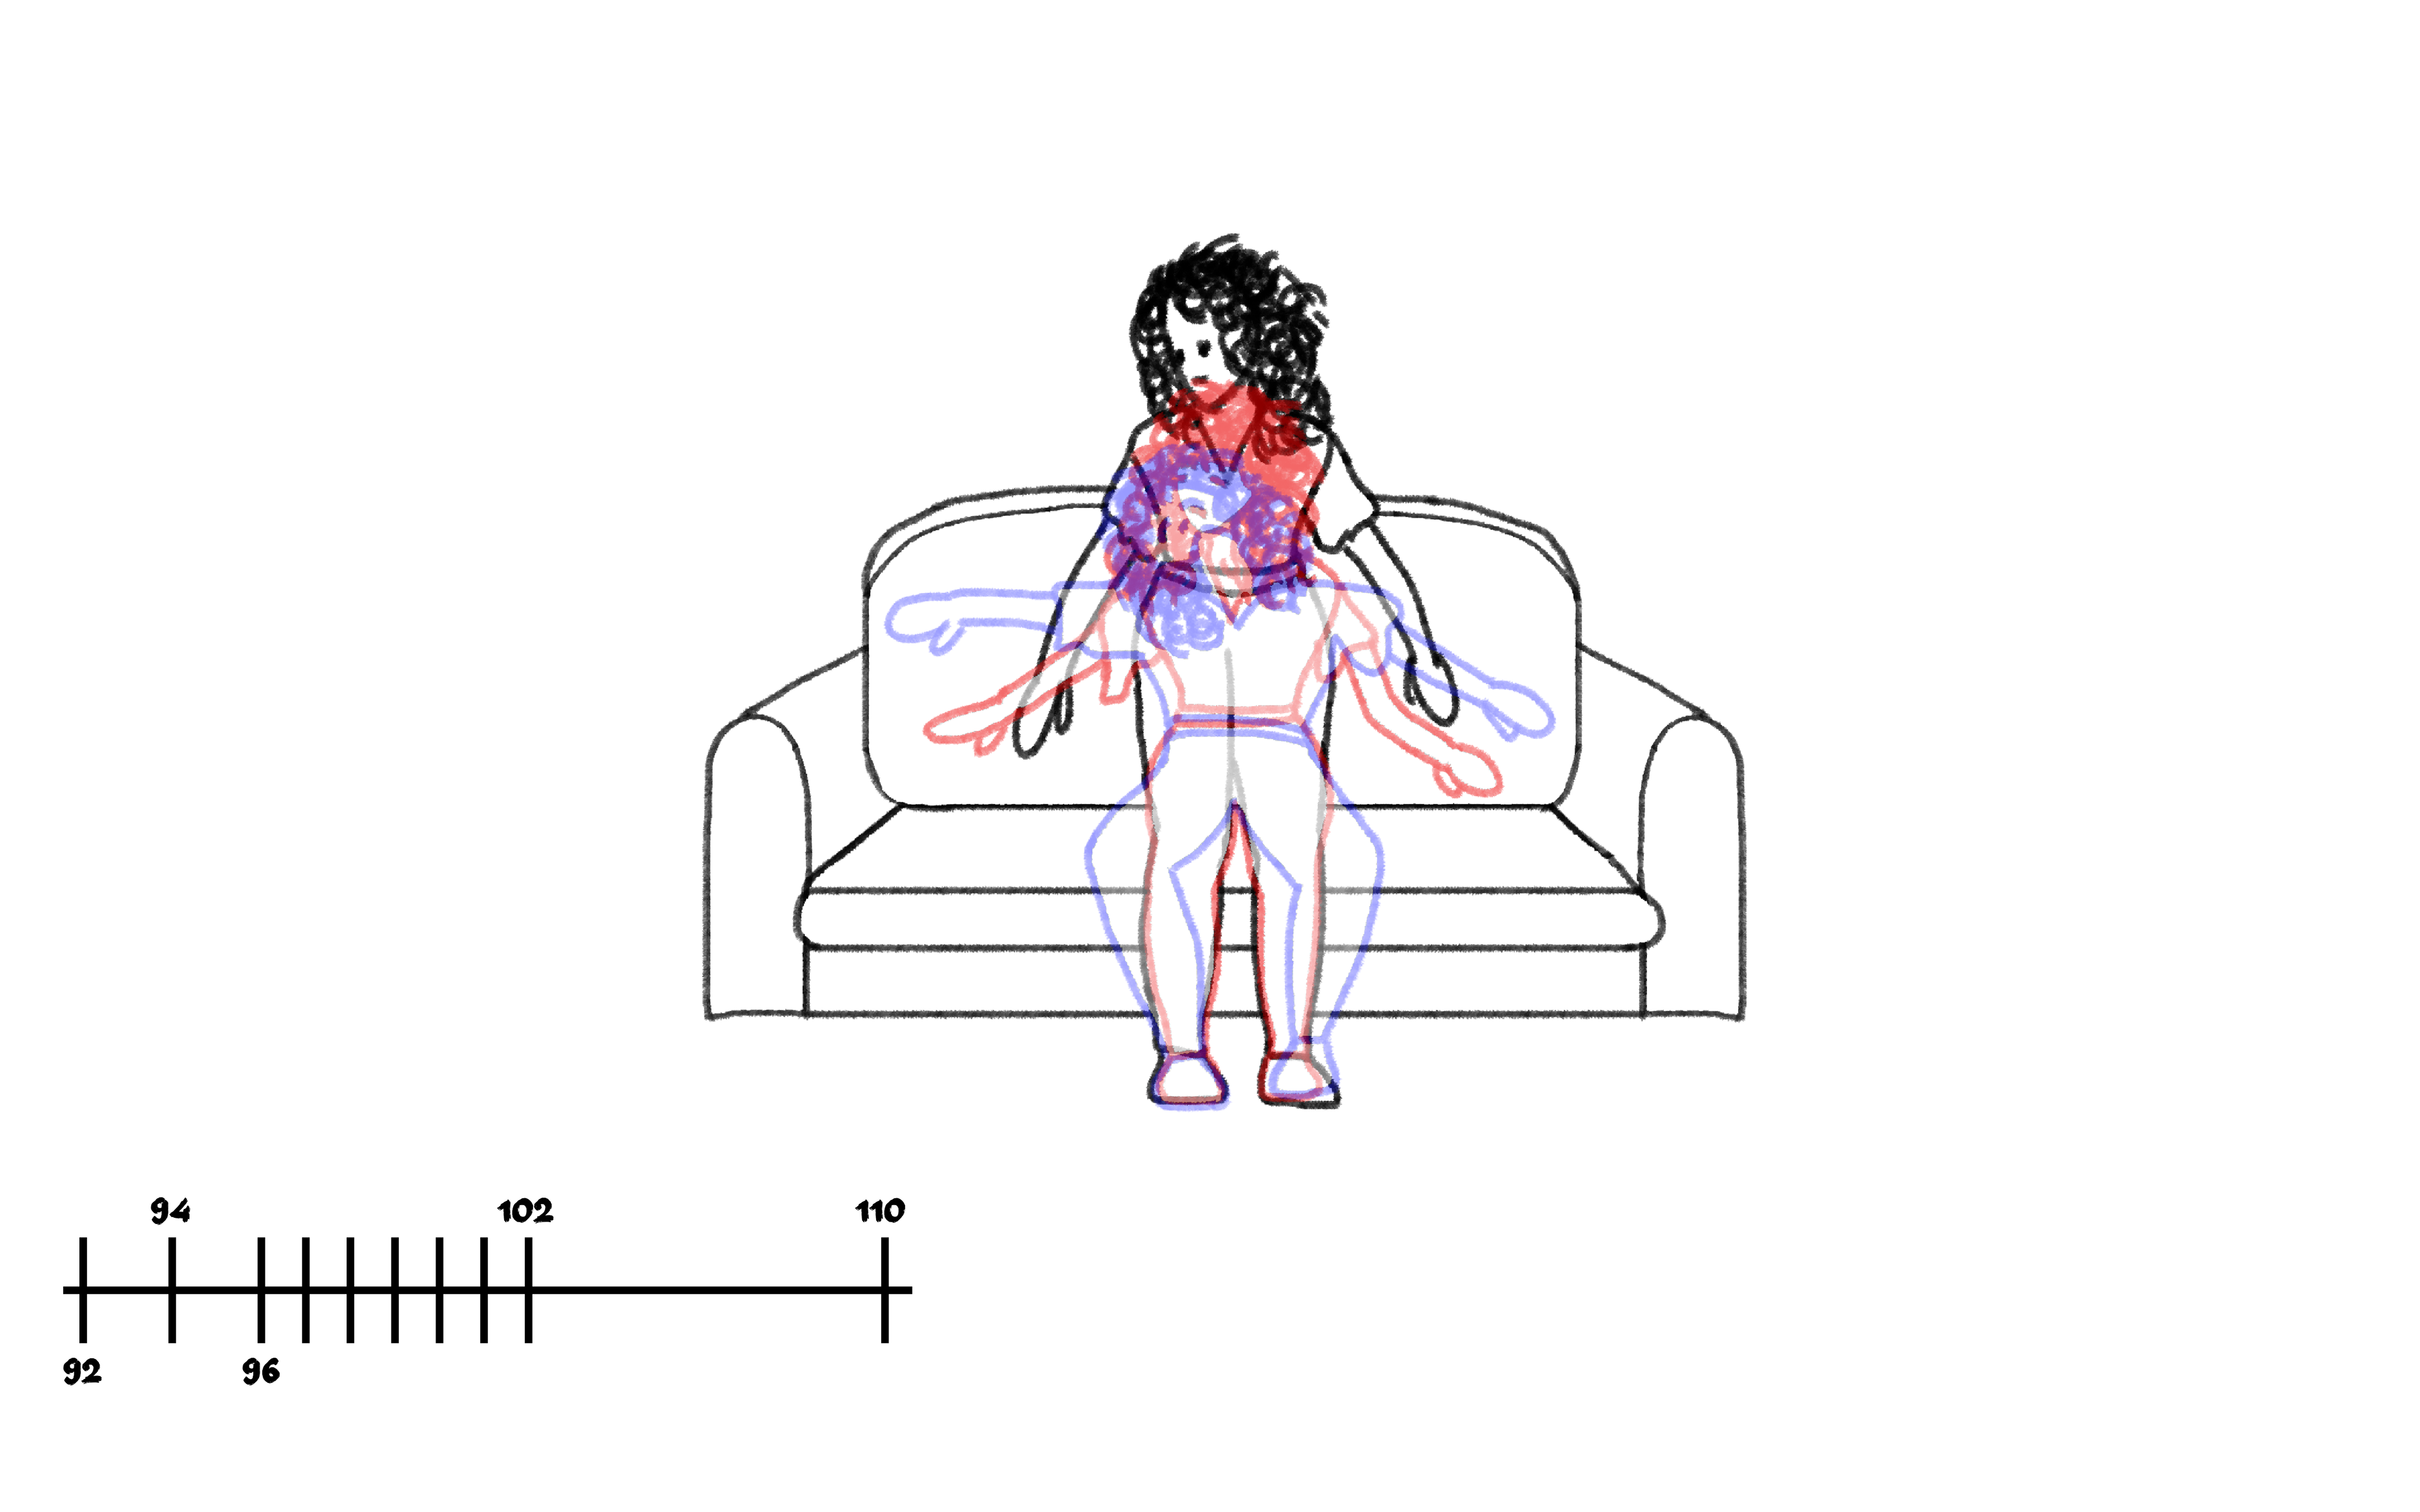
Schedule/ Cronograma / Keyframes
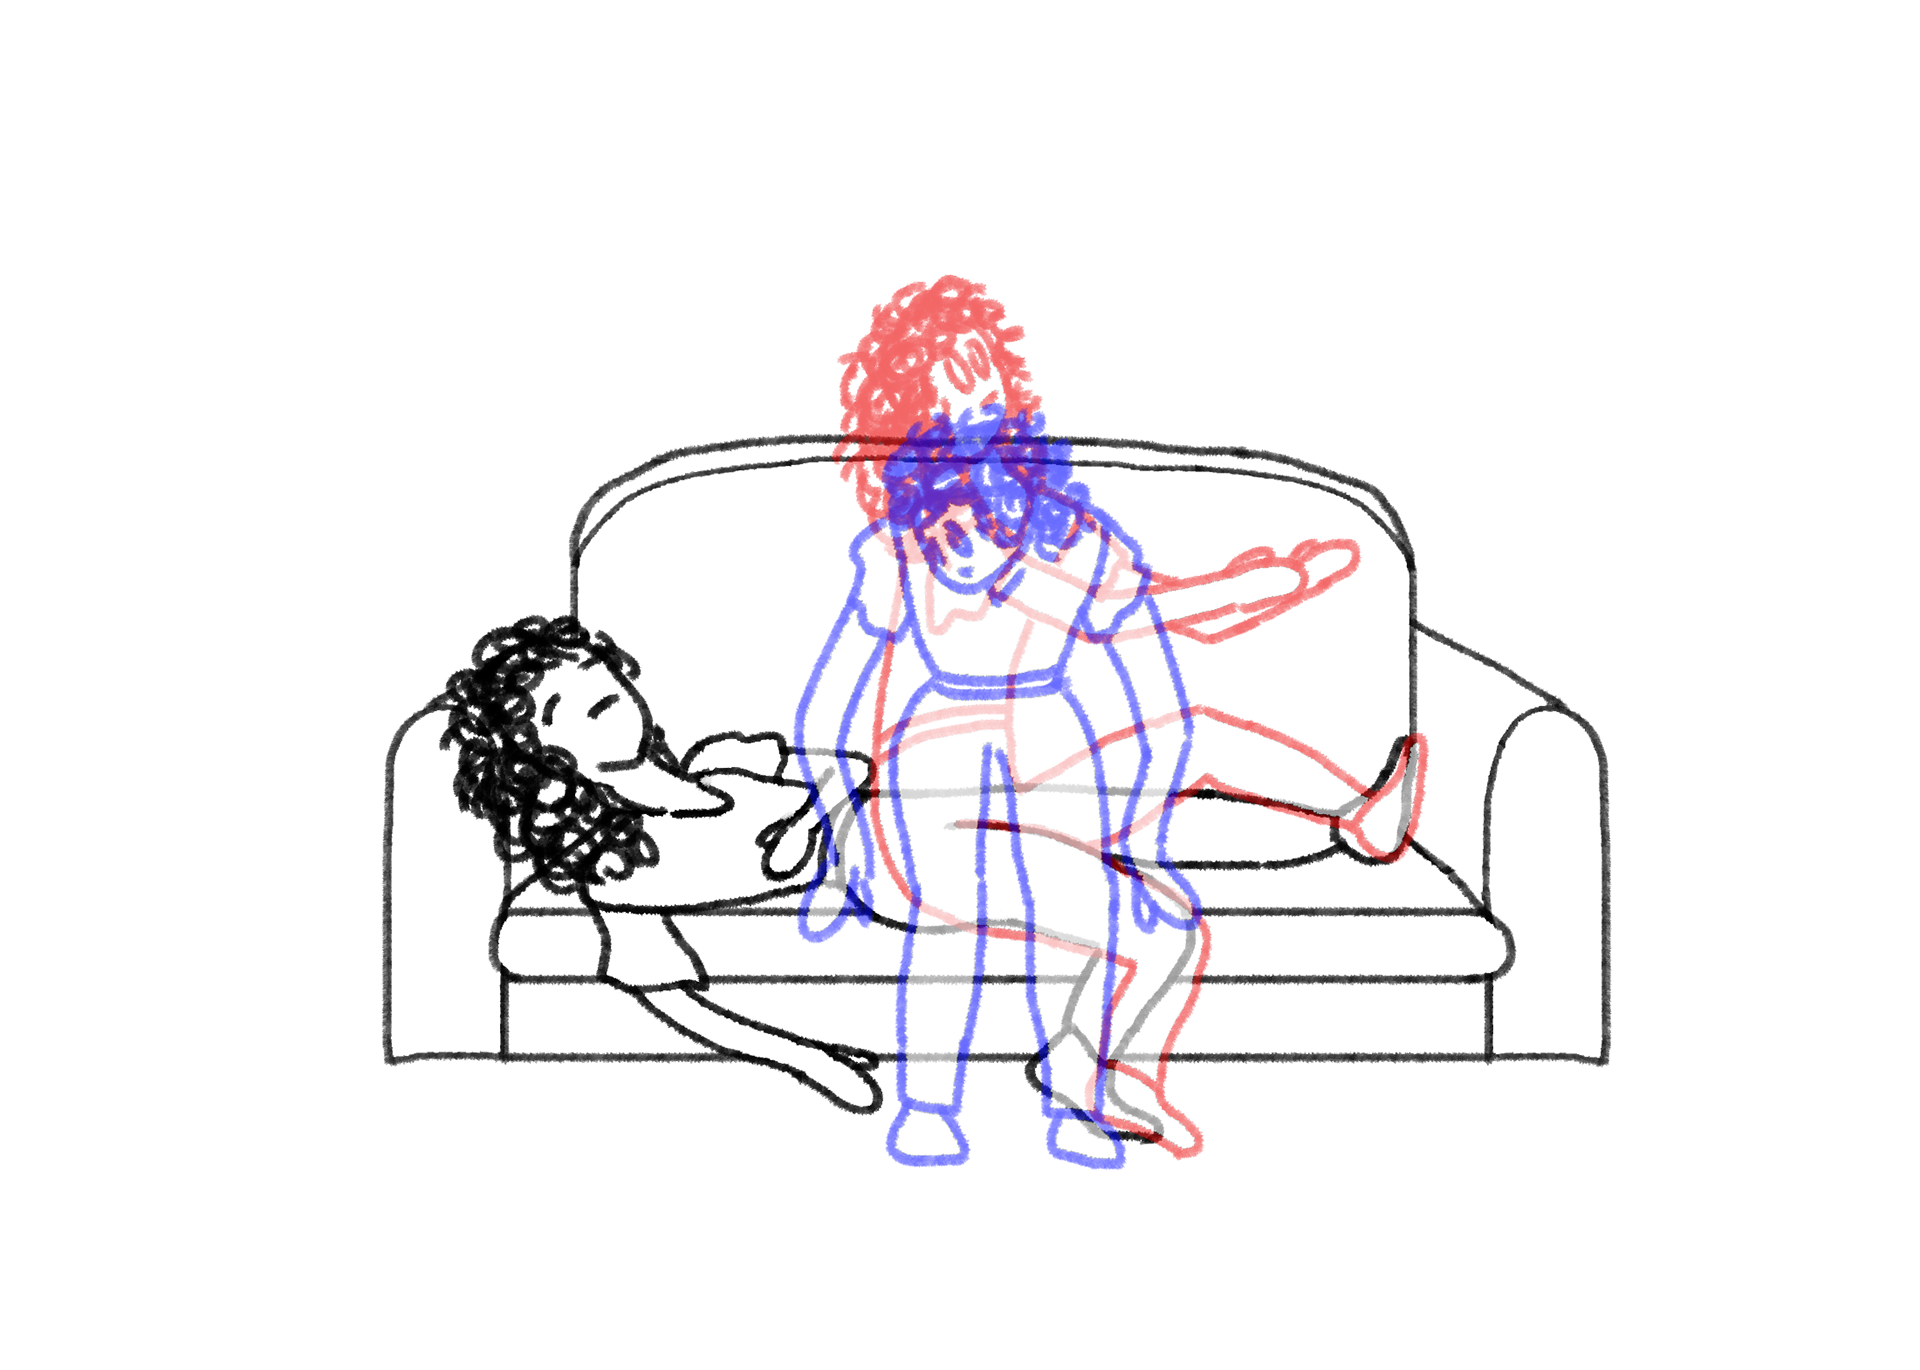
Here I have drawn three keyframes, each with two under frames, in order to be able to plan the movement better. In addition, I have displayed these frames in a GIF to make the sequence and movement even clearer.
Timeline/timplaning
I then made a timeline with the individual frames in order to better plan the animation and timing. On the following pages you will find the complete timeline of 9 seconds. It is also divided into the 3 keyframes to better recognise the action.

Final Video/Animation
Video as a GIF without sound
Reflection on my work
For the implementation, I initially used Photoshop but later switched to Adobe Animate, as it was suggested in class that using Photoshop for frame-by-frame animations might not be ideal. Therefore, I imported my already drawn scenes into Animate and continued working with this program.
The animation is accompanied by carefully crafted sound design to further emphasize and support each action in the sequence. The sound experience enhances the visual elements, creating an even more immersive and captivating experience for the viewer. This project has provided me with valuable insights into the world of animation and sound design, demonstrating how these two elements work together to tell a compelling story.
At the end of the exercise, I observed my own progress during the course and was proud to have achieved such a frame-by-frame animation.
.